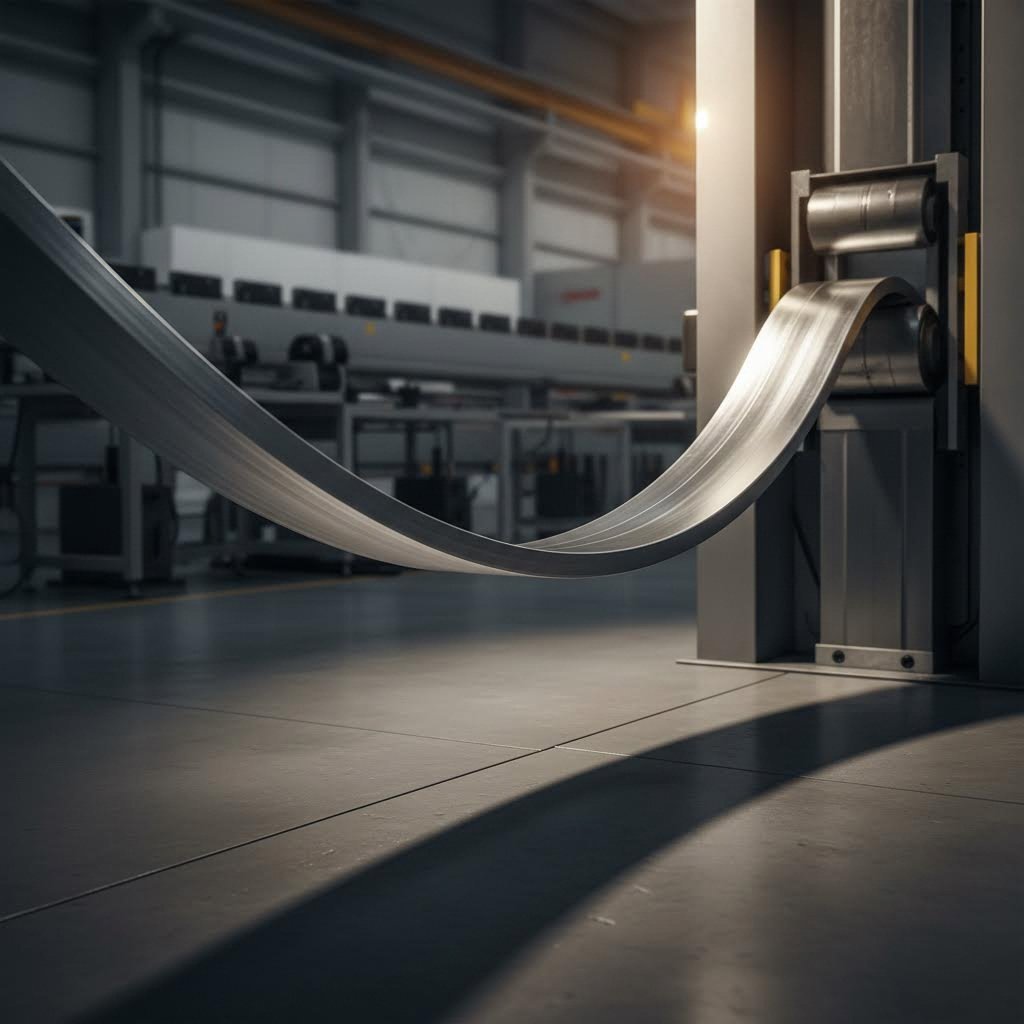
Ever tried bending aluminum only to watch it crack right at the curve? You're not alone. Aluminum extrusions offer incredible versatility for everything from custom furniture frames to boat components, but transforming a straight profile into a curved aluminum extrusion demands more than brute force. It requires understanding the metal's behavior, selecting the right technique, and executing with precision.
Here's the challenge: most available guides either offer vague tips or assume you have access to industrial equipment. This step-by-step resource bridges that gap, giving you practical, sequential instructions whether you're working with basic hand tools or professional bending equipment.
Unlike mild steel, aluminum behaves differently under stress. When you bend it, a process called work hardening occurs, causing the metal to become harder and more brittle as it deforms. This means your bending window is limited before the material loses its flexibility.
Additionally, aluminum naturally ages and strengthens over time. According to industry experts, the longer the lag time between extrusion and bending, the more difficult it becomes to form components accurately without surface defects or deformations. Tight bends create excessive tensile stress on outer fibers while compressing inner fibers, and if that stress exceeds the material's limits, cracking occurs.
By following this complete walkthrough, you'll gain the knowledge to curve aluminum profiles confidently and consistently. Here's what you'll learn:
Whether you're a DIY enthusiast crafting custom aluminum frames, a small-shop fabricator expanding your capabilities, or an engineer prototyping new designs, mastering how to curve aluminum opens new possibilities. This guide covers both manual methods for small-scale projects and equipment-based approaches for production work, so you can choose the path that fits your needs and budget.
Ready to transform straight extrusions into precisely curved components? Let's start with the foundation: choosing the right aluminum alloy for your bending project.
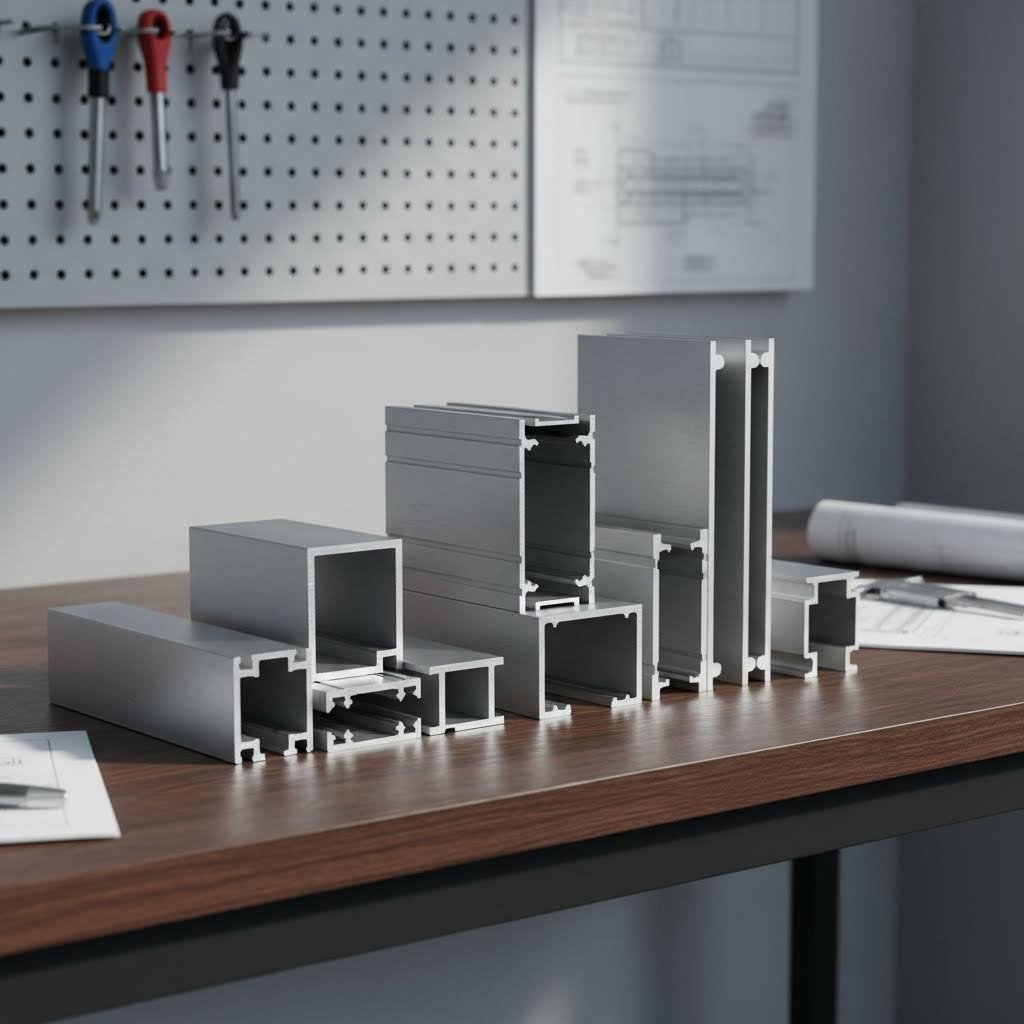
Imagine spending hours setting up your bend only to hear that dreaded crack. More often than not, the culprit isn't your technique - it's the wrong alloy choice. Before you even touch a bending tool, selecting the appropriate aluminum alloy and understanding its temper designation will determine whether your project succeeds or fails.
Not all aluminum alloys respond the same way to bending forces. The secret lies in two material properties: formability and elongation percentage. Formability describes how well the metal undergoes plastic deformation without fracturing, while elongation indicates how much the metal can stretch before breaking. High-elongation alloys are far more forgiving during tight radius bends.
According to Hydro's aluminum experts, the best series for aluminium bending are the 3xxx, 5xxx, and in some cases 6xxx alloys. Here are the top performers:
Avoid 2xxx-series alloys for bending projects. Their high copper content makes them extremely strong but difficult to form without cracking.
Here's something many fabricators overlook: temper is just as important as the alloy itself. The temper designation tells you how the aluminum was processed after extrusion, which directly impacts its hardness and formability.
For heat-treatable 6xxx-series alloys, consider these key tempers:
One important consideration with T4 temper: yield strength varies over time due to natural aging. This slow hardening process can cause springback variations during bending. For consistent results, some fabricators prefer bending 6061 t6 with larger radii or annealing the material first.
Sounds complex? Let's simplify it. When you need tight bends or complex curves, reach for 6063-T5 aluminum. When structural strength is your priority and you can work with larger bend radii, 6061-T6 becomes viable - though it requires more care.
The following comparison table breaks down your options:
| Alloy | Bendability Rating | Typical Applications | Special Considerations |
|---|---|---|---|
| 6063-T5 | Excellent | Architectural trim, window frames, furniture, decorative profiles | Best choice for tight radii; excellent surface finish after bending |
| 6061-T6 | Moderate | Structural frames, automotive components, aerospace applications | Requires minimum bend radius of 3x to 6x material thickness; consider annealing for tight bends |
| 5052-H32 | Very Good | Marine hardware, hydraulic tubes, sheet metal fabrication | Excellent for 5052 aluminum bending; strain-hardened for balanced formability and strength |
| 3003-H14 | Excellent | Heat exchangers, chemical equipment, roofing | Most forgiving for beginners; lower strength than 5xxx and 6xxx alloys |
Wall thickness matters too. Thicker profiles require larger bend radii to prevent the outer surface from exceeding its ultimate tensile strength. As a general rule, your minimum bend radius should increase proportionally with wall thickness. For hollow profiles like T-slot extrusions, thinner walls are more prone to collapse during bending - a problem we'll address with mandrels in the next section.
With your alloy selected, you'll need the right tools to execute the bend properly. Let's gather your equipment and safety gear.
You've selected the perfect alloy - now what? Having the right tools on hand makes the difference between a clean, professional bend and a frustrating mess of bent aluminum that ends up in the scrap bin. Whether you're working with a simple aluminum bender or considering professional-grade equipment, this checklist ensures you're fully prepared before making your first bend.
For DIY projects and small-batch work, you don't need a factory full of equipment. Here's what you'll need based on your chosen method:
Manual Tube and Profile Bending:
Heat-Assisted Bending:
Internal Support Tools:
According to tube bending experts, the mandrel is the component that supports the inside of the tube, preventing collapse and wrinkling during bending. For aluminum specifically, steel or chrome mandrels work well, while close pitch mandrels handle thin wall tubing and tight radius bends more effectively.
At what point does upgrading make sense? If you're bending more than a few pieces per week or require consistent, repeatable results, professional equipment pays for itself quickly through reduced scrap rates and faster production.
Consider these equipment options:
Working on a budget? You can achieve impressive results with creative substitutes:
Safety Equipment Requirements:
Never skip safety gear - aluminum edges become sharp during bending, and heat-assisted methods introduce burn risks. Your safety checklist should include:
Never bend aluminum in cold weather without warming the material first - it becomes brittle and prone to cracking.
With your tools organized and safety equipment ready, the next step is selecting the bending method that matches your project requirements and available equipment.
So you've got your alloy picked and tools ready - but which bending technique should you actually use? This decision makes or breaks your project. Each aluminum profile bending method offers distinct advantages depending on your bend radius, profile shape, and production needs. Let's break down the four primary techniques so you can match the right process to your specific situation.
Need a sharp, precise curve? Rotary draw bending is your go-to method. This technique clamps the aluminum extrusion against a rotating bend die while a pressure die holds it in place. As the bend die rotates, it draws the profile around its radius, creating exceptionally accurate bends.
According to Wiley Metal, rotary draw bending can produce very tight bend radii - around the same as the section diameter. The bending die features a mirror of the section's external profile over approximately 270 degrees of its surface, allowing precise control throughout the forming process.
Here's what makes this method stand out:
The trade-off? Setup costs. Rotary draw bending requires dedicated tooling for each profile shape and bend radius. For one-off projects, this investment may not make sense. But for T-slot extrusions, 80/20 style profiles, and production work, the precision justifies the expense.
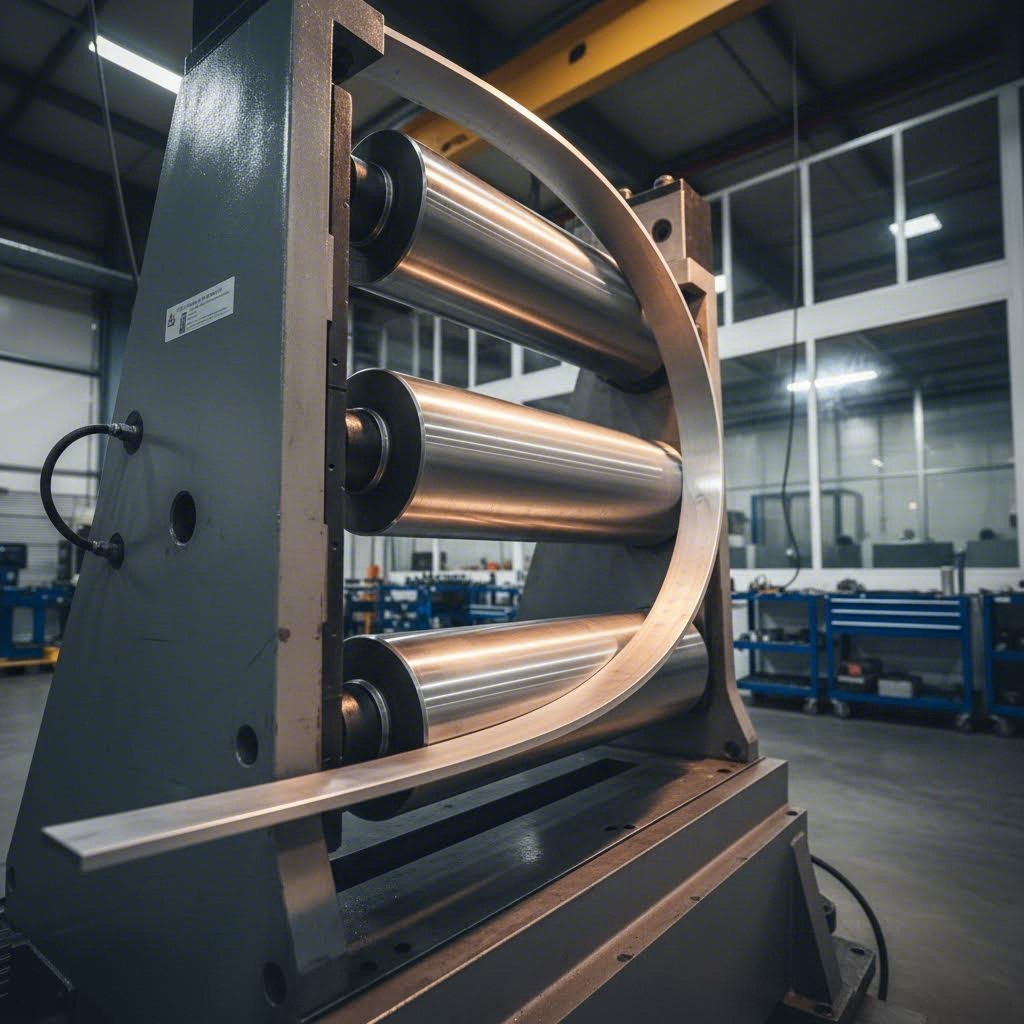
When your project calls for gentle curves or complete circles - think architectural handrails or boat components - roll bending delivers results that other methods simply can't match. This aluminium profile bending technique pushes the extrusion through three or four shaped rollers that gradually impart a large-radius curve.
As noted by industry specialists, roll bending can even produce complete circles and is often used for shaping large sections in architectural or construction applications. The rollers match the extrusion's profile and rotate continuously, pulling material through while creating consistent curvature.
Key advantages of roll bending include:
The limitation? Roll bending operates more slowly than other methods and requires trial-and-error adjustment to achieve the exact radius. It also presents higher damage risk for thin-walled tubes or when attempting small-radius bends that push the technique beyond its sweet spot.
Looking for a straightforward, budget-friendly approach? Ram bending pushes a semicircular die against your extrusion while pressure dies on either side support and pivot the profile around the forming radius. This aluminium extrusion bending method works well for simple projects where absolute precision isn't critical.
According to bending experts, the tightest achievable bend radius with ram bending is around four times the diameter of the section. Multiple bends can be placed close together, though only one is made at a time.
Press brake techniques offer similar simplicity for flat bars, angles, and open profiles. The workpiece sits between a punch and die, with controlled downward force creating the bend. This method excels at:
The downside is accuracy. Industry sources note that ram bending provides poor accuracy compared to rotary draw processes, and hollow profiles risk collapse without internal support. Reserve this technique for structural applications where tolerances are generous.
What if you need a large-radius bend with exceptional surface quality and minimal springback? Stretch forming answers that challenge by clamping both ends of the extrusion and applying tension while a radiused die pushes against the mid-section to create the curve.
As Wiley Metal explains, this method is used for parts with a large bend radius. The tension maintains control over overall length, there's little surface marking, and good bend angle repeatability makes it valuable for cosmetic applications.
Stretch forming particularly shines when working with:
The stretching action reduces springback significantly because the entire cross-section experiences tensile stress, not just the outer fibers. However, this method requires substantial equipment investment and works best for production volumes that justify the setup costs.
Still unsure which approach fits your project? This comprehensive comparison breaks down each method by the factors that matter most:
| Method Name | Best For | Minimum Bend Radius | Equipment Cost Range | Skill Level Required | Common Applications |
|---|---|---|---|---|---|
| Rotary Draw Bending | Tight precision bends, hollow profiles, production runs | 1x to 2x profile diameter | $5,000 - $50,000+ | Intermediate to Advanced | Exhaust systems, furniture frames, handrails, T-slot extrusions |
| Roll Bending | Large sweeping arcs, complete circles, architectural curves | 8x to 20x profile diameter | $2,000 - $25,000 | Beginner to Intermediate | Boat gunnels, curved railings, structural arches, 80/20 frames |
| Ram Bending | Simple bends, low-tolerance projects, quick jobs | 4x profile diameter | $500 - $5,000 | Beginner | Electrical conduit, simple frames, prototypes |
| Stretch Forming | Large radius curves, cosmetic surfaces, minimal springback | 50x+ profile diameter | $20,000 - $100,000+ | Advanced | Aerospace panels, architectural facades, automotive trim |
Matching method to profile type: Hollow extrusions like T-slot and 80/20 profiles demand either mandrel-supported rotary draw bending or careful roll bending to prevent wall collapse. Solid profiles and angles offer more flexibility across all methods. Asymmetric shapes - channels, Z-sections, and complex architectural profiles - benefit from stretch forming's controlled tension or rotary draw's precision tooling.
Production volume considerations: For one to ten pieces, manual ram bending or a simple roll bending setup keeps costs manageable. When quantities reach fifty or more, the tooling investment in rotary draw bending pays dividends through reduced scrap and consistent quality. High-volume production justifies CNC automation for any method.
With your bending method selected, you're ready to execute the actual forming process. The next section walks you through each step from marking to final adjustment.
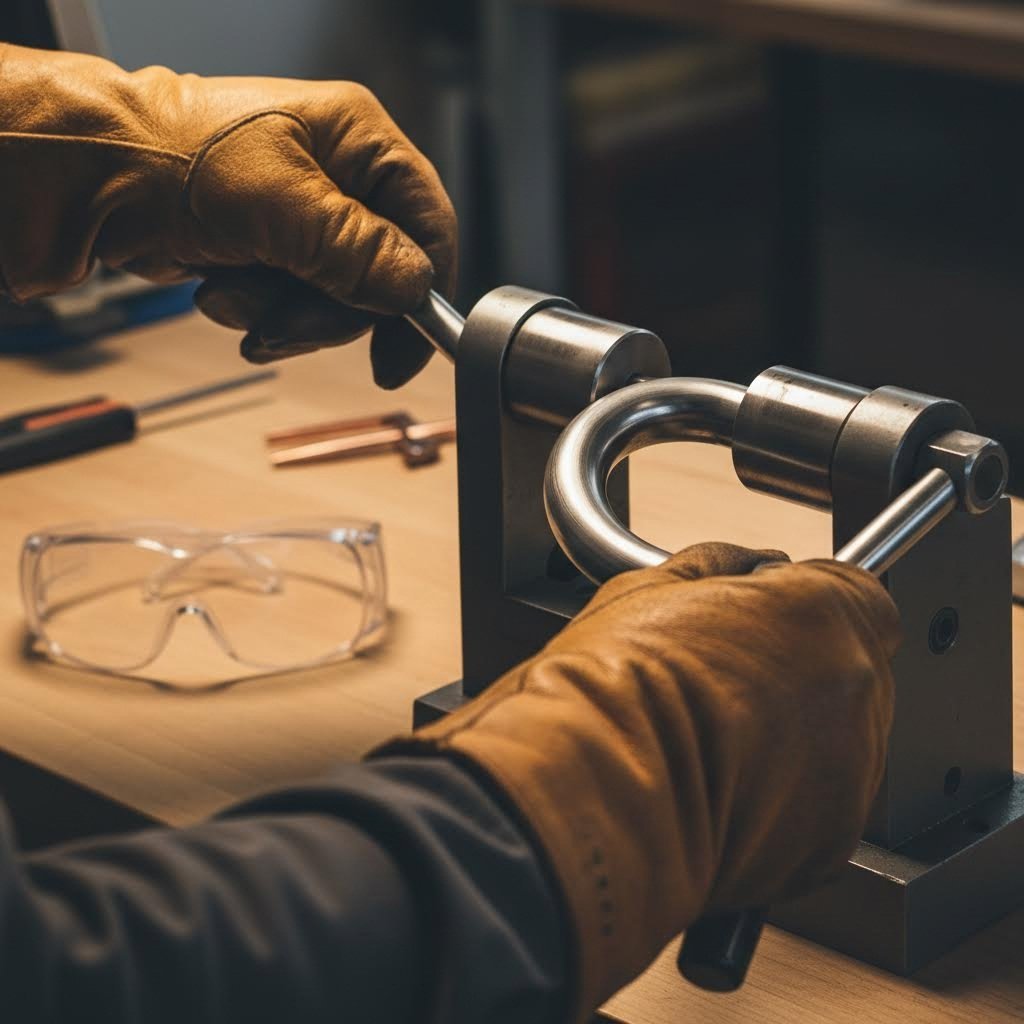
You've selected your alloy, gathered your tools, and chosen your method. Now comes the moment of truth - actually bending aluminium extrusion without ruining it. This is where most guides fail you, offering vague advice like "apply steady pressure" without explaining exactly how to do it. Let's walk through each step so you know precisely what to do and when to do it.
Accurate marking prevents costly mistakes. Before applying any force, you need to identify exactly where your bend begins, where it ends, and how the material will behave during forming.
Always perform a test bend on scrap material first. This reveals how your specific profile behaves and helps you calibrate your measurements before committing to your final workpiece.
Here's where many DIYers get nervous - and rightfully so. Aluminum doesn't change color when heated like steel does, which makes temperature control tricky. But when you're working with harder tempers like 6061-T6 or attempting tight radius bends, controlled heating dramatically reduces cracking risk.
According to The Fabricator, aluminum's melting point is 1,220 degrees F, but you only need to reach around 752 degrees F for improved formability. The challenge? Aluminum oxide on the surface melts at 3,600 degrees F - meaning the metal can melt from the inside out if you overheat it, potentially blowing a hole through sheet material without warning.
The Soot Temperature Indicator Method:
If you don't have an infrared thermometer, there's a clever workaround. Detune your acetylene torch to produce black carbon soot, then lay a coating along the inside of your bend line. Retune the torch and heat the opposite side (the outside of the bend). When the soot burns off - which happens at approximately 752 degrees F - you've reached the ideal forming temperature without risking overheating.
Critical timing consideration: The relationship between heat treatment and formability is time-sensitive. If you're working with T4 or T6 tempered aluminum, heating above 400°F begins to affect the temper. For non-structural applications, this may be acceptable. For load-bearing components, consult material specifications or plan for post-bend heat treatment to restore properties.
This is the moment everything comes together. How do I bend aluminum without cracking it? The answer lies in controlled, consistent pressure applied at the right speed.
Understanding springback compensation:
Springback occurs because the inner fibers of your bend are compressed while outer fibers are stretched. When you release pressure, the compressed fibers push back partially. Rather than using complex formulas, the practical approach is empirical testing: bend a piece of scrap from the same material batch to your target angle, release pressure, and measure how much it springs back. Add this angle to your bend setting for subsequent parts.
| Material | Typical Springback Range | Compensation Strategy |
|---|---|---|
| 6063-T5 | 2° - 5° | Overbend by measured springback amount; consistent across production runs |
| 6061-T6 | 3° - 8° | Overbend more aggressively; consider annealing for tight tolerance work |
| 5052-H32 | 2° - 4° | Moderate overbend; very consistent springback characteristics |
| Annealed (O temper) | 1° - 2° | Minimal compensation needed; excellent for precision work |
Your bend is complete - but is it correct? Verification prevents assembly headaches later.
When is a bend acceptable? For structural applications, any visible cracking means the part should be scrapped. For decorative use, hairline surface cracks may be acceptable if they'll be covered by finishing. Wrinkling on inside radii can sometimes be dressed with filing or sanding for non-critical applications.
Executed your bend but noticed problems? The next section provides a complete troubleshooting matrix to diagnose defects and understand whether your part is salvageable or needs to be remade.
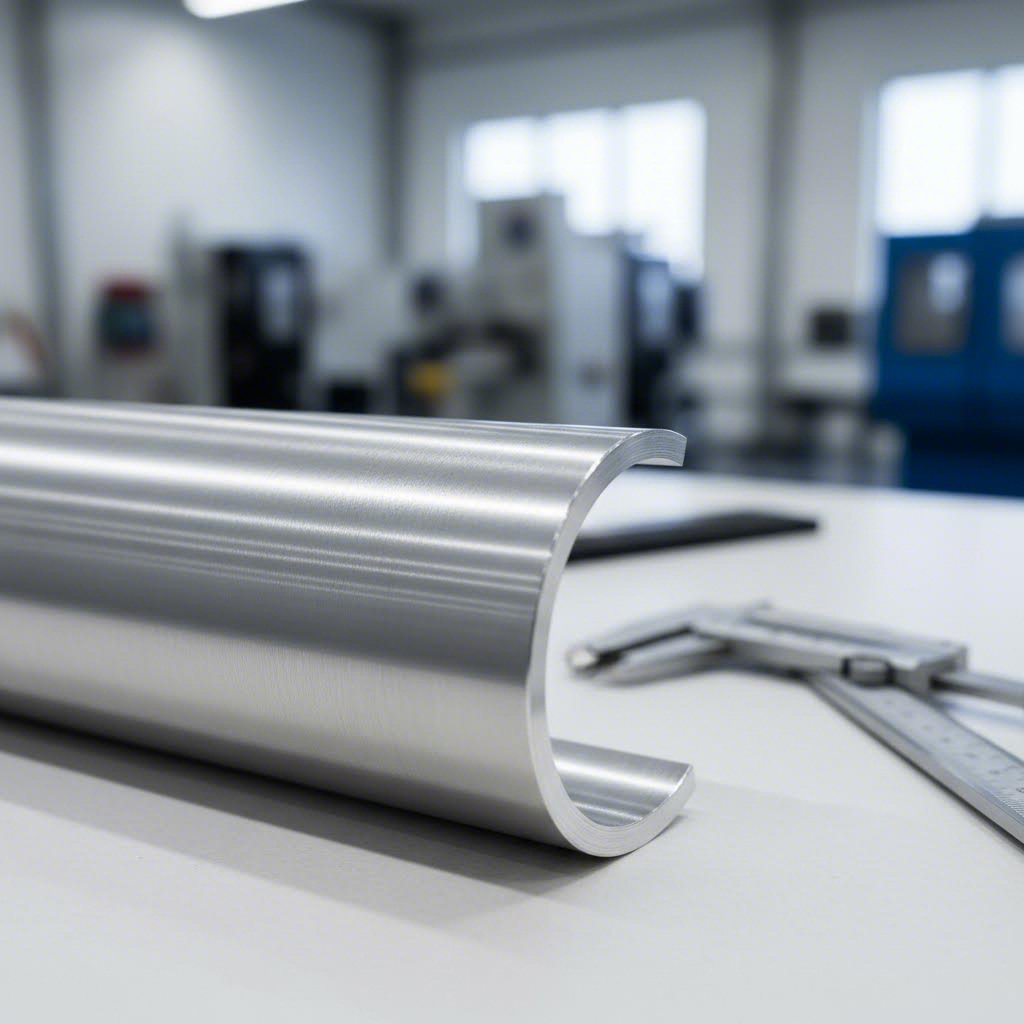
Something went wrong with your bend - now what? Before scrapping that curved aluminum extrusion and starting over, understand that most bending aluminum extrusions defects have identifiable causes and, in many cases, workable solutions. According to Inductaflex, common aluminum bending defects include cracking, wrinkling, thinning, twisting, and springback - each stemming from specific root causes ranging from improper bend radius to tool misalignment.
Let's diagnose what went wrong and determine whether your part is salvageable or needs a fresh start.
Notice those wavy ripples or accordion-like folds on the inside of your curve? That's wrinkling, and it happens when the material on the compression side of the bend has nowhere to go. As the outer fibers stretch, the inner fibers compress - and without proper support, they buckle instead of flowing smoothly.
According to ZP Aluminium, improper positioning of the profile's releasing edge can lead to shrinkage wrinkles, commonly known as "wood ear edges." This can be resolved by improving the profile's cross-sectional area or adjusting the tension during bending.
Why hollow profiles wrinkle more easily:
Hollow extrusions like tubes and T-slot profiles are particularly prone to wrinkling because their thin walls lack the structural rigidity to resist compression forces. When you bend aluminium tubing without internal support, the inside wall buckles inward while the outside wall tries to maintain its shape - creating visible ripples or even complete collapse.
How mandrels solve the problem:
A mandrel acts as an internal skeleton during bending. Positioned just past the tangent point where the bend begins, it prevents the inner wall from collapsing by filling the hollow cavity. For complex hollow shapes, industry experts recommend filling open cavities with overlapping spring steel plates or polytetrafluoroethylene (PTFE) filler, while closed cavities work better with sand or similar granular materials.
Wrinkling prevention strategies:
Can wrinkled parts be saved? Minor wrinkling on non-structural, non-visible surfaces may be acceptable depending on your application. Shallow wrinkles can sometimes be dressed with filing or careful planishing. However, deep wrinkles indicate material that has work-hardened in a deformed state - attempting to flatten them often causes cracking. For critical applications, start fresh.
Cracking represents the most serious bending defect because it compromises structural integrity. When you see splits or fractures on the outside of your bend, the outer fibers exceeded their ultimate tensile strength and failed.
According to The Fabricator, hard aluminum grades (T temper) will be too hard to yield to the punch tip, so the inside radius should be at least three times the material thickness. Cold forming at 1x material thickness simply isn't realistic for hard aluminum - the material needs a larger inside radius.
Root causes of cracking:
Prevention through proper die selection:
Your tooling choice directly impacts crack prevention. LVD's experts recommend precision-ground punch and die sets that provide accurate bending points, plus modern high-accuracy press brakes that maintain tight alignment. Using the correct bending type for your application - air bending, coining, or bottoming - also helps achieve sharper bends without failure.
The role of lubrication:
Proper lubrication does more than prevent galling - it reduces friction between the material and tooling, allowing smoother material flow during forming. According to industry sources, using a lubricant specifically designed for aluminum minimizes friction and prevents cracking and tearing during the bending process. Choose mineral-based or renewable-resource oil-based lubricants compatible with your specific aluminum alloy.
When cracks mean scrap: Any visible cracking on structural components means the part must be scrapped - there's no reliable repair for cracked aluminum. For decorative applications, hairline surface cracks that don't penetrate through the material may be acceptable if they'll be hidden by finishing. When in doubt, scrap it.
Your bend looked perfect in the die - then you released pressure and watched it spring back several degrees. Frustrating? Absolutely. But springback is predictable and manageable once you understand its mechanics.
According to ZP Aluminium, profile contour deviation - the degree of conformity between the changed profile and the template after bending - results partly from curvature rebound change of the bending mold and partly from unstable material quality causing uneven hardness in local areas.
Why springback happens:
During bending, the outer fibers stretch plastically while inner fibers compress. The elastic component of this deformation wants to recover when you release pressure. Higher-strength alloys and tempers have more elastic recovery, meaning more springback. Thinner materials also spring back more than thicker sections of the same alloy.
Accurate compensation strategies:
Addressing batch-to-batch variation:
Here's something that catches even experienced fabricators off guard: springback varies between material batches. Even identical alloy and temper designations can show different springback characteristics due to subtle variations in metallurgical processing. When starting a new material batch, always run test bends before committing to production parts.
Look at your bent profile from the end - does the cross-section look stretched, flattened, or asymmetric? Wall thinning and distortion occur when bending forces exceed what the profile geometry can handle while maintaining shape.
According to industry analysis, twisting after bending occurs due to asymmetry of the profile's cross-sectional area, leading to imbalance in stress between the bending edge and releasing edge. Similarly, excessive verticality deviation - angular deviation between the post-bending cross-section and the inspection platform - stems from the same stress imbalance.
Addressing wall thinning:
The outer wall of any bend stretches and thins - this is unavoidable physics. What's controllable is how much thinning occurs:
Correcting twist and verticality problems:
ZP Aluminium recommends increasing the pulling force on industrial aluminum profiles by adding a vertical pushing cylinder in front of the bending mold and maintaining pressure for some time after bending. Additionally, minute deformations caused by extruded profile instability can be corrected in later stages through careful straightening.
When distortion is salvageable:
Minor cross-sectional distortion in non-critical applications may be acceptable. For structural applications, any significant wall thinning beyond 10-15% of original thickness compromises load-bearing capacity. Twisted profiles can sometimes be cold-straightened if the twist is minor, but this introduces additional work hardening and residual stress.
Use this reference table to quickly diagnose problems and determine your best course of action:
| Defect Type | Visual Signs | Root Causes | Prevention Methods | Correction Options |
|---|---|---|---|---|
| Wrinkling | Ripples, waves, or accordion folds on inside of bend; "wood ear" appearance | Insufficient internal support; bend radius too tight; inadequate wiper die pressure | Use mandrel or filler; increase bend radius; add wiper die; apply lubrication | Minor: file/planish smooth. Severe: scrap and restart |
| Cracking | Splits or fractures on outside of bend; surface fissures; material separation | Bend radius below minimum; wrong alloy/temper; cold material; surface defects; bending with grain | Increase radius to 3x+ MT for hard alloys; heat material; inspect surfaces; bend against grain | Structural parts: always scrap. Decorative: may accept hairline if hidden |
| Springback | Bend angle less than intended after release; part doesn't match template | Elastic recovery in material; higher strength alloys spring more; inconsistent material batches | Overbend by measured amount; increase dwell time; test each material batch; adjust mold contour | Rebend carefully to add degrees; avoid multiple rebend cycles |
| Wall Thinning | Outer wall visibly thinner; stretched appearance; reduced profile dimensions | Excessive stretching on outer fibers; radius too tight for wall thickness; no material feed | Use larger bend radius; select thicker-wall profiles; boost-assisted bending; proper mandrel | Minor: accept if within spec. Severe: scrap for structural use |
| Twisting | Profile rotates around its axis; cross-section not perpendicular to bend plane | Asymmetric cross-section; unequal stress distribution; inadequate clamping | Increase pre-stretch tension; add vertical pushing cylinder; maintain post-bend pressure | Minor twist: cold straighten carefully. Severe: scrap and adjust process |
| Cross-Section Distortion | Flattening of hollow profiles; oval instead of round; walls caving inward | No mandrel support; excessive bending force; thin walls relative to bend radius | Use proper mandrel; fill cavity with sand/PTFE; reduce bending speed; increase radius | Collapsed sections: scrap. Minor ovaling: may accept for non-critical use |
| Surface Damage | Scratches, galling marks, depressions, die marks on visible surfaces | Poor die condition; inadequate lubrication; tooling material softer than workpiece | Polish die surfaces; use proper lubricant; coat tooling; adjust die clearance | Light marks: polish out. Deep gouges: accept for hidden surfaces or scrap |
Making the scrap-or-save decision:
When evaluating a defective bend, ask yourself three questions: Is this a structural application where failure could cause injury or damage? Will the defect be visible in the final assembly? Does the defect fall within acceptable tolerance for the intended use? If the answer to the first question is yes and any defect is present, scrap the part. For decorative or non-critical applications, minor defects that won't be visible may be acceptable - but document your decision and maintain consistent quality standards across your project.
Now that you can identify and address bending problems, the next step is finishing your curved aluminum extrusions properly. Post-bend inspection, surface treatment, and quality verification ensure your parts perform as intended in their final application.
Your curved extruded aluminum looks great coming off the bending equipment - but you're not done yet. What happens after bending determines whether your part performs reliably or fails unexpectedly in service. Post-bend inspection, proper surface treatment, and stress relief considerations separate professional-quality work from amateur attempts.
Before moving to finishing operations, every bent extrusion needs systematic quality verification. According to ZP Aluminium's quality inspection guidelines, the finished product inspection should include comprehensive size review, surface treatment acceptance, and mechanical performance testing where required.
Dimensional verification techniques:
Accurate measurement requires the right approach for each dimension type. Use these methods to confirm your bends meet specifications:
Quality checkpoints for every bent part:
Here's something that trips up many fabricators: bending affects surface finishes, and the sequence of operations matters significantly. According to Inductaflex's surface finishing guide, anodizing and powder coating are best applied after bending to prevent surface cracking or defects during the forming process.
Why finishing after bending makes sense:
When you bend pre-anodized aluminum, the brittle oxide layer cracks and flakes at the bend location. Powder coating applied before bending similarly fractures, leaving exposed bare metal susceptible to corrosion. Mill finish extrusions, while low-cost, may expose tool marks post-bending unless the process is carefully managed.
Recommended finishing sequence:
According to industry durability research, applying surface treatments after bending can protect against corrosion and wear while avoiding damage during the bending process itself. For production work, coordinate your bending and coating steps to ensure reliable aesthetics and performance.
Bending introduces residual stresses into your aluminum extrusion. The outer fibers are stretched while inner fibers are compressed, and this stress doesn't simply disappear when you remove the forming force. For many applications, these residual stresses are acceptable. But for critical components, stress relief may be necessary.
According to aluminum durability studies, post-bend processing techniques such as annealing or additional tempering after bending can relieve residual stresses and improve overall durability.
When stress relief matters:
Integration with other fabrication processes:
Plan your complete fabrication sequence before starting. Cutting, drilling, and assembly operations interact with bending in important ways:
With your bent extrusions properly inspected and finished, one important question remains: should you continue handling bending in-house, or does professional service make more sense for your situation?
You've learned the techniques, gathered the tools, and maybe even completed a few successful bends. But here's a question that could save you significant time and money: should you keep bending in-house, or is it time to partner with a professional aluminum bending service? This isn't just about capability - it's about economics. Let's break down the real numbers so you can make an informed decision.
Most DIY fabricators dramatically underestimate their actual bending costs. The price of a tube bender is just the beginning. To understand your true cost per bend, you need to account for every expense that goes into producing a finished part.
The complete cost equation:
According to SendCutSend's analysis, hidden costs matter significantly when deciding between insourcing and outsourcing. Costs associated with raw materials, material storage, recycling, plus the time involved with these activities must be factored in.
Here's what you should include in your calculation:
| Cost Category | DIY Approach | Professional Service |
|---|---|---|
| Initial Investment | $500 - $15,000+ for equipment | $0 (pay per part) |
| Per-Bend Labor | 15-45 minutes at your rate | Included in part price |
| Typical Scrap Rate | 10-25% for beginners | 1-3% for experienced shops |
| Tooling Per Profile | $200-2,000 per die set | Often included or minimal setup fee |
| Quality Consistency | Variable, operator-dependent | Repeatable, documented |
DIY aluminum bending isn't always the wrong choice - for certain situations, it's absolutely the right call. The key is matching your approach to your actual needs rather than defaulting to one path.
Scenarios where in-house bending wins:
According to industry experts, DIY solutions eliminate the obstacle of high equipment costs and free up capital for materials and experimentation. It's the leanest path from idea to finished product when you're crafting custom pieces or testing concepts.
The volume threshold question:
Where's the crossover point? For most fabricators, the economics shift around 50-100 identical parts. Below that quantity, your learning investment and setup time get spread across too few pieces. Above that quantity, professional equipment's speed and consistency deliver measurable savings even after accounting for per-part charges.
When your project demands tight tolerances, complex curves, or production quantities, partnering with a professional aluminum bending service often proves more cost-effective than DIY - especially when you factor in reduced scrap and guaranteed results.
What to look for in a bending partner:
For fabricators tackling complex curved aluminum extrusion projects or needing aluminum extrusion CNC precision, manufacturers with integrated capabilities offer significant advantages. Shengxin Aluminium, for example, combines over 30 years of experience with state-of-the-art CNC machining centers capable of precise cutting, drilling, and bending operations. Their end-to-end support - from die development through mass production - eliminates the coordination headaches of working with multiple vendors.
The factory-direct advantage:
Here's something many fabricators overlook: for medium-to-large projects, factory-direct pricing from an integrated manufacturer often competes with or beats DIY costs. When you factor in eliminated scrap, guaranteed tolerances, and included surface treatment options like anodizing or powder coating, the total project cost frequently favors professional service - particularly when searching for reliable "aluminum bending near me" solutions proves challenging in your area.
Making your decision:
Ask yourself three questions: How critical are the tolerances? What's your realistic scrap rate? And what's your time actually worth? If you're bending a handful of decorative pieces with flexible specs, DIY works great. If you're producing structural components, fulfilling customer orders, or facing tight deadlines, professional partnership delivers both peace of mind and predictable costs.
With the DIY-versus-outsource decision clarified, you're ready to put everything together. The final section provides a quick-reference checklist and guidance for building your aluminum bending expertise over time.
You've made it through the complete aluminum extrusion bending guide - from alloy selection to troubleshooting defects to deciding between DIY and professional services. That's a lot of ground to cover. But knowledge without action doesn't bend anything. Let's distill everything into a practical checklist you can reference during your next project, plus a roadmap for developing your skills over time.
Before you pick up that bending tool, run through this condensed best practices checklist. Print it out, tape it to your workbench, and verify each point before executing your bend.
Alloy and Material Selection:
Method Selection:
Execution Tips:
Quality Verification:
Expertise doesn't happen overnight. Whether you're a weekend hobbyist or building professional fabrication capabilities, skill development follows a predictable path. Here's how to progress without wasting material or getting frustrated.
For hobbyists and DIY enthusiasts:
Start small and build confidence. Your first bends shouldn't be on expensive custom extrusions or critical project components. Instead:
For professional fabricators expanding capabilities:
When bending becomes a regular part of your operation, systematic improvement pays dividends:
When to seek expert partnership:
Some projects simply demand capabilities beyond typical shop equipment. For complex curved aluminum extrusion projects - aluminum u channel with flange profiles, intricate architectural curves, or custom bent aluminum profiles requiring production consistency - partnering with specialists makes sense.
If you're tackling ambitious projects that need custom profiles designed specifically for bendability, or require integrated solutions from extrusion through finishing, manufacturers like Shengxin Aluminium offer technical team support throughout the process. Their custom 6063 aluminum tube capabilities and surface treatment options - including anodizing in custom colors and powder coating for post-bend finishing - provide complete solutions for projects where DIY approaches hit their limits.
Your next step:
Whether you're bending your first practice piece or scaling up professional production, the principles remain the same: right alloy, right method, careful execution, thorough inspection. Start with what you have, learn from each bend, and expand your capabilities as projects demand. The aluminum is waiting - go make something curved.
Yes, aluminum extrusions can be bent successfully using proper techniques. Most extrusion bending involves 6000-series alloys like 6063-T5 and 6061-T6, which offer good strength and formability. The key factors for success include selecting the right alloy and temper, using appropriate bending methods (rotary draw, roll bending, ram bending, or stretch forming), and providing internal support for hollow profiles with mandrels to prevent collapse. Heat-assisted bending can improve formability for harder tempers.
For most aluminum extrusions, cold bending works well with softer tempers like 6063-T5. However, hot bending offers significant advantages for harder tempers like 6061-T6 or when attempting tight radius bends. Heating aluminum to 400-500°F increases ductility, reduces cracking risk, and allows tighter curves. The trade-off is that heating above 400°F can affect temper properties in heat-treated alloys. For structural applications requiring maintained strength, cold bending with larger radii is often preferred.
The easiest approach depends on your project scale. For small DIY projects, a manual tube bender with appropriate dies works well for simple profiles. Ram bending offers the simplest operation with minimal tooling for basic bends. For larger sheets, a metal bending brake provides clean results. When working with hollow extrusions, fill the cavity with sand or use a mandrel to prevent collapse. Starting with forgiving 6063-T5 alloy and practicing on scrap material before tackling final parts ensures better results.
The general rule for bending aluminum is that the minimum bend radius should be 3-5 times the material thickness for hard tempers like T6. Softer tempers and alloys like 6063-T5 can achieve tighter radii, sometimes as low as 1-2 times the profile diameter with rotary draw bending. Wall thickness also matters - thicker profiles require proportionally larger bend radii. Always test bend scrap material first to determine exact springback compensation, which typically ranges from 2-8 degrees depending on alloy and temper.
Preventing cracks requires addressing multiple factors. First, choose bendable alloys like 6063-T5 over high-strength options like 6061-T6. Ensure your bend radius meets minimum specifications (at least 3x material thickness for hard alloys). Heat the material to 400-500°F when working with harder tempers. Use proper lubrication to reduce friction and allow smooth material flow. Inspect surfaces for scratches or defects that act as stress concentrators. Apply steady, continuous pressure during bending rather than stopping mid-bend, and avoid bending cold material in winter conditions.



 dịch vụ trực tuyến
 0086 136 3563 2360
 sales@sxalu.com
 +86 136 3563 2360
 Việt
Việt English
 français
 Deutsch
 русский
 español
 português
 العربية
 ไทย
ไทย Українська