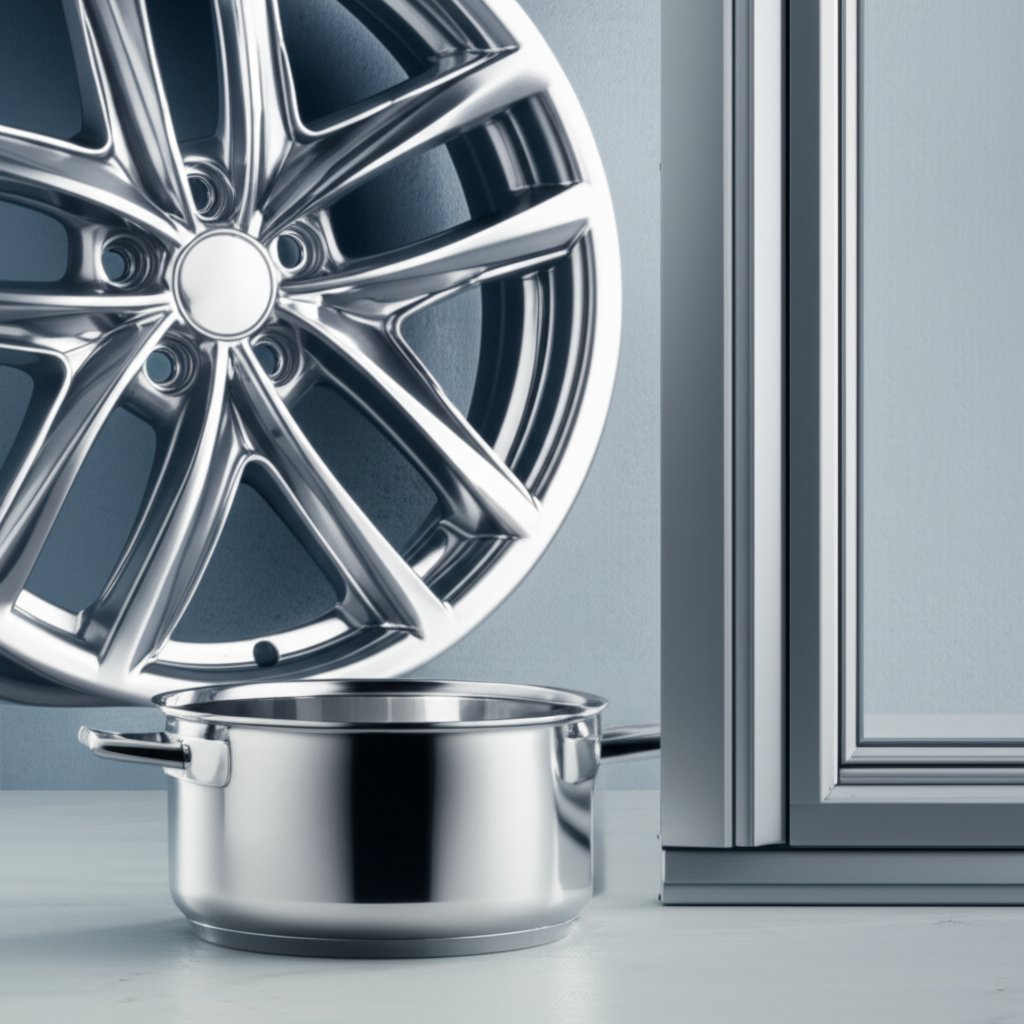
Ever noticed how aluminum window frames, cookware, or furniture can lose their shine over time? That dullness isn’t just about looks—improper or infrequent cleaning can compromise the integrity and lifespan of aluminum. When you understand how to clean aluminum the right way, you help preserve its natural luster, prevent corrosion, and ensure it functions as intended for years to come. Whether you’re dealing with exterior architectural elements or kitchen essentials, regular and appropriate cleaning is the key to maintaining both beauty and performance.
Before you reach for a sponge, take a closer look at your aluminum item. Is it raw, anodized, polished, or brushed? Each finish has its own characteristics and cleaning needs:
Sounds complex? Don’t worry—throughout this guide, you’ll learn how to clean aluminum without scratching and discover simple methods tailored to each finish and situation.
Imagine starting a project only to realize you’re missing a key supply. To save you time and frustration, here’s a checklist of essentials you’ll want to have on hand before you begin:
Having the right supplies ensures you can tackle everything from everyday dirt to more stubborn stains, all while protecting your aluminum’s finish. In the next steps, we’ll walk through exactly how to use these tools for a spotless, scratch-free result—whether you’re learning how to clean brushed aluminum or restoring a kitchen favorite.
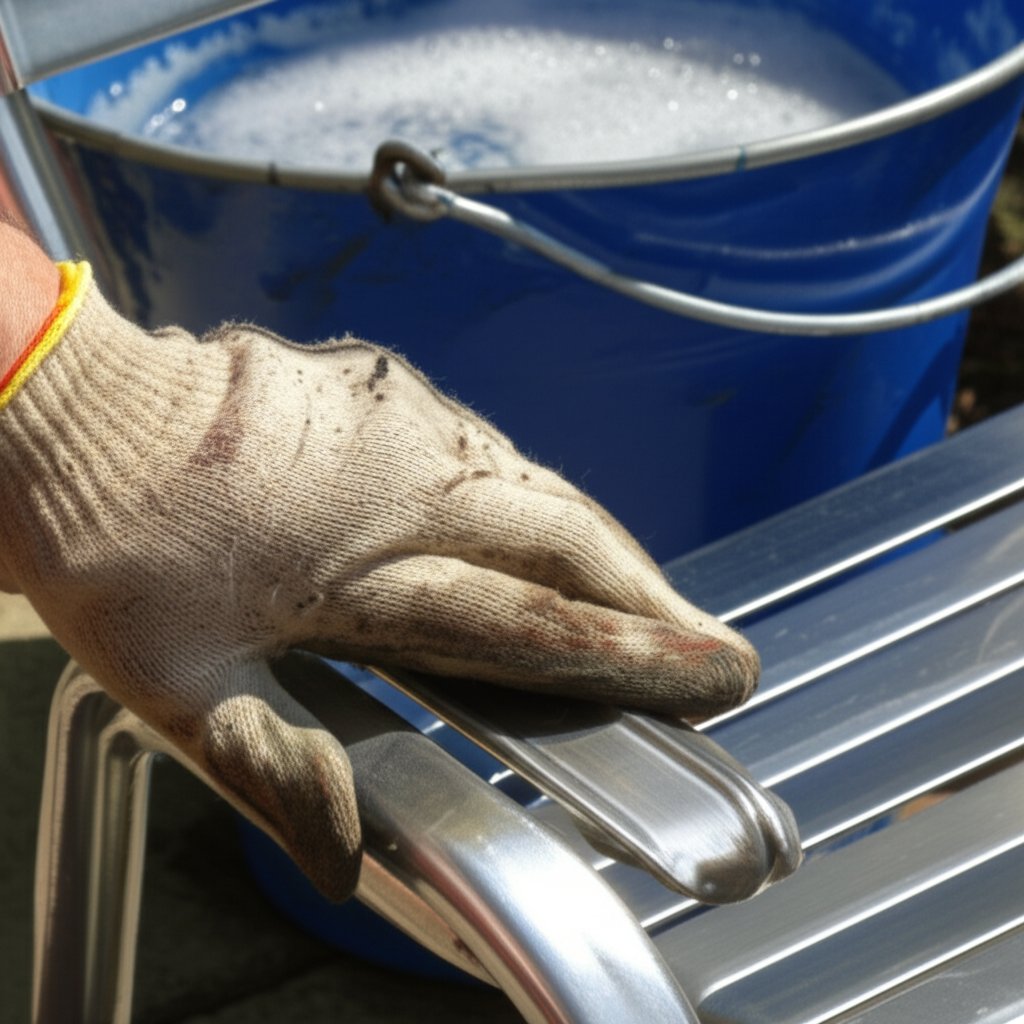
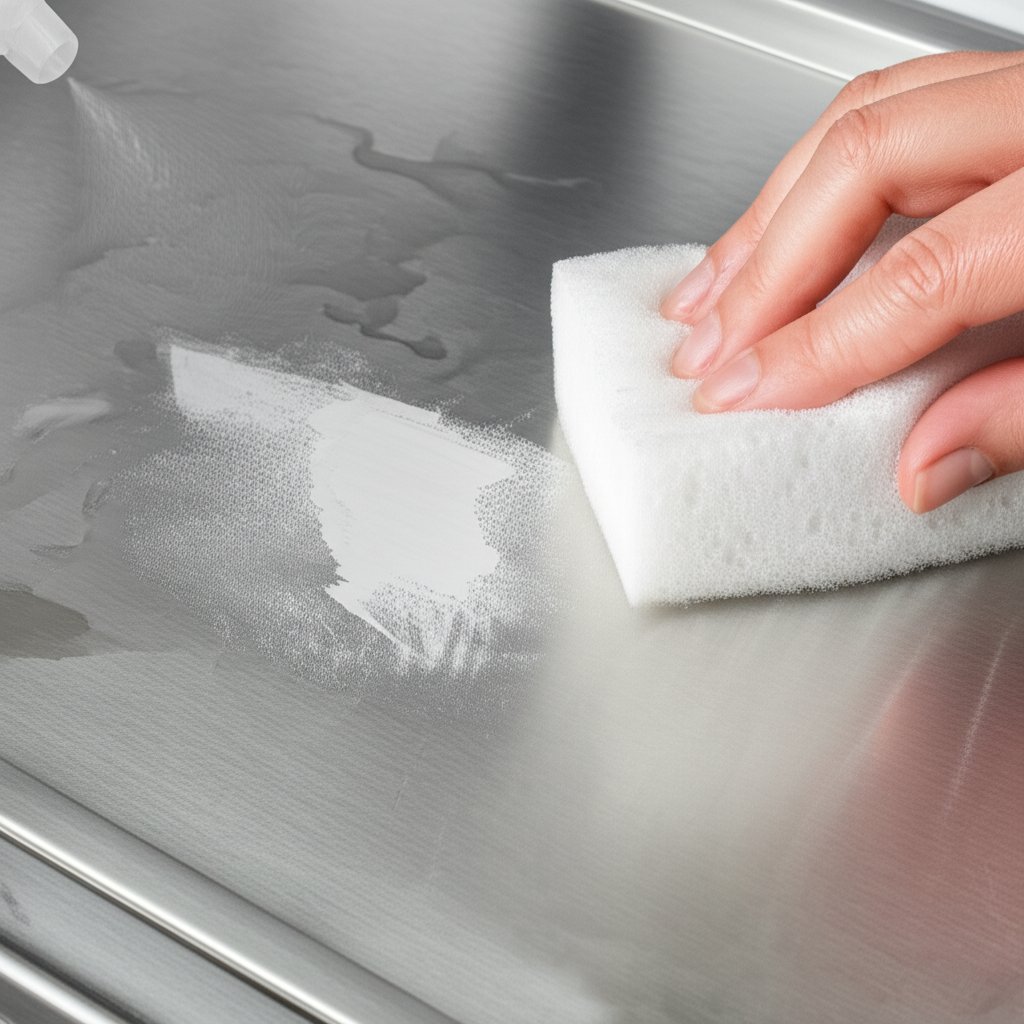
When you notice a dull film or light dust on your aluminum siding, window frames, or patio furniture, it’s tempting to reach for heavy-duty cleaners. But did you know that gentle cleaning is not only safer for the metal but also preserves its original shine? Whether you’re learning how to clean aluminum siding after a rainy season or just want to freshen up your patio set, starting with a mild approach is best.
Imagine you’re getting ready to host a backyard gathering and your aluminum furniture needs a quick refresh. Here’s a simple, effective process you can use for most lightly soiled aluminum surfaces:
Ever noticed cloudy marks after your aluminum dries? These water spots are caused by minerals left behind when water evaporates. To avoid them, always dry surfaces right after rinsing. For large areas like siding, work in sections so you can rinse and dry before moving on. If you’re cleaning aluminum window frames, pay special attention to the corners and edges, where water tends to pool.
By sticking to these gentle cleaning steps, you’ll keep your aluminum looking bright and streak-free—without the risk of scratches or damage. Next, we’ll explore natural solutions for tackling tougher stains and tarnish, so you’re ready for any cleaning challenge that comes your way.
When you spot dark stains or a cloudy film on your favorite aluminum pots and pans, you might wonder: do you really need a specialty cleaner? The good news is, you probably have everything you need right in your kitchen. Everyday ingredients like vinegar, lemon juice, baking soda, and even cream of tartar can work wonders on tarnished or stained aluminum surfaces. These natural solutions are gentle, effective, and budget-friendly, making them perfect for routine maintenance and deep cleaning alike.
Ever wonder why vinegar and lemon juice are so effective? It’s all about chemistry. Aluminum stains and tarnish are often caused by mild oxidation—essentially, a reaction between the metal and oxygen or food acids. Mild acids like vinegar and lemon juice help dissolve this layer, restoring shine without damaging the metal underneath. Meanwhile, gentle abrasives like baking soda or cream of tartar lift away stubborn spots without scratching the surface. The result? Clean, gleaming cookware and utensils that look almost new.
Imagine you’re prepping for a big family dinner, but your aluminum pan is looking dull. Here’s how to quickly brighten it up:
When you’re faced with persistent stains—think burnt-on food or patches of discoloration—baking soda comes to the rescue. Here’s how:
| Solution | Best For | How to Apply | Cautions |
|---|---|---|---|
| Vinegar & Water | Tarnish, water spots, mild stains | Simmer in pan or wipe with cloth; rinse and dry | Don’t use undiluted vinegar on anodized aluminum |
| Lemon Juice & Water | Tarnish, oxidation, light discoloration | Rub with cut lemon or wipe with solution-soaked cloth | Test on hidden area first to check for discoloration |
| Baking Soda Paste | Burnt-on food, stubborn stains | Apply paste, let sit, scrub gently, rinse and dry | Use only soft cloths or sponges—never steel wool |
| Cream of Tartar & Water | Heavy tarnish, interior cookware stains | Mix into water, simmer in pan, rinse and dry | Not for prolonged soaking; always rinse thoroughly |
By using these natural, easy-to-make solutions, you’ll master how to clean aluminum pots and pans, tackle tarnished aluminum, and remove stains without harsh chemicals. Next, we’ll show you how to address oxidation and restore even the most weathered aluminum surfaces to their original brilliance.
Ever picked up an aluminum pan or checked your trailer and noticed a chalky white or grayish layer that just won’t wipe away? That’s oxidation—a natural process where aluminum reacts with oxygen in air or moisture, forming a thin, sometimes stubborn layer of aluminum oxide on the surface. While this layer actually helps protect the underlying metal from further corrosion, it can dull the appearance and, if left unchecked, diminish the performance or value of your aluminum items.
Environmental factors like humidity, pollutants, and prolonged exposure to water can accelerate oxidation. It’s especially common on outdoor surfaces, vehicle parts, and cookware that’s been left unused for a while. But don’t worry—knowing how to clean aluminum oxidation means you can restore both shine and function, often with simple household supplies or targeted cleaners.
Ready to tackle that chalky build-up? Here’s a practical, step-by-step approach for how to clean oxidized aluminum at home or in a commercial setting:
Always test any acidic cleaner on a small, inconspicuous area first to ensure it doesn't discolor or damage the aluminum finish.
For especially stubborn oxidation, a paste of cream of tartar and water or baking soda and lemon juice can be applied to problem spots. Let it sit for 10–15 minutes, then scrub and rinse. If you’re working with cast or hammered aluminum cookware, boiling a mixture of water and cream of tartar inside the pan can help lift tough oxidation.
Sometimes, DIY methods just aren’t enough—especially if you’re dealing with severe or large-scale oxidation, like on trucks, trailers, or marine equipment. Commercial aluminum cleaners, usually acid-based, are formulated to break down oxidation quickly and efficiently. They’re particularly useful for:
When using commercial products, always wear protective gloves and eye protection, and follow all safety guidelines. For polished aluminum, select a cleaner labeled as “polish-safe” to avoid damaging the finish. If you’re unsure, test on a hidden spot first.
Remember, mechanical methods like fine-grit sandpaper can remove oxidation but may scratch the metal or create an uneven finish, so reserve these for last resorts or industrial contexts.
By following these steps and choosing the right cleaning method for your situation, you’ll master how to clean oxidation from aluminum and keep your surfaces looking their best. Next, we’ll dive into specialized cleaning tips for specific aluminum items like wheels, boats, and cookware—so you’re prepared for any challenge.
Ever noticed how quickly your car’s aluminum wheels lose their shine, especially after a few rainy days or a road trip? Brake dust, road grime, and salt can dull and damage aluminum rims if not cleaned regularly. The good news: learning how to clean aluminum wheels and rims isn’t complicated when you follow the right steps and use the correct tools.
Tip: Rinse wheels every time you wash your car, and do a deeper clean every couple of months or when you notice visible buildup. This routine keeps your aluminum rims looking their best and extends their lifespan.
Imagine you’re prepping your pontoon or fishing boat for the season and notice dull, streaked, or grimy aluminum. Marine environments pose special challenges—think algae, salt, and stubborn mineral deposits. But with a few simple steps, you’ll restore your boat’s trademark shine and protect it from the elements.
Remember: Treating your boat’s aluminum with care means longer life and less time scrubbing next season. Investing in the right cleaner ensures your boat stays bright and beautiful.
Ever burned dinner and been left with a blackened aluminum pan? Or maybe your favorite baking sheet has a stubborn, dull film that just won’t budge. The secret to how to clean aluminum pans is as much about technique as it is about patience.
Pro tip: If your pan is warped, severely scratched, or food keeps sticking despite cleaning, it may be time to replace it. Proper care, though, will keep your aluminum cookware in peak condition for years.
By using these targeted methods for wheels, boats, and pans, you’ll tackle the unique cleaning challenges of each item—and keep your aluminum looking and performing at its best. Next, we’ll cover how to polish and protect aluminum for a long-lasting, mirror-like shine.

Ever cleaned your aluminum wheels, cookware, or siding only to find they still look a bit flat or hazy? That’s where polishing comes in. Polishing is the secret to transforming clean, serviceable aluminum into a true showpiece—whether you’re after a subtle glow for protection or a dazzling, mirror-like shine. Beyond looks, polishing also creates a protective barrier that repels water, resists oxidation, and makes future cleaning much easier. If you’ve wondered how to clean and polish aluminum so it stays bright for the long haul, this step is your answer.
Not all polishes are created equal. For uncoated or bare aluminum, a dedicated aluminum polish is best—these formulas remove fine oxidation, water spots, and minor scratches without damaging the metal. If you’re working with polished aluminum or want to know how to clean polished aluminum without risking its finish, always check the label: some polishes are gentle enough for regular use, while others are designed for heavy-duty restoration. For anodized or coated aluminum, use only products specifically marked as safe for those finishes.
Tip: For how to clean and polish aluminum wheels, choose a polish with a built-in sealant for extra protection against brake dust and road grime.
Imagine your aluminum rims reflecting the sky, or your kitchen backsplash gleaming like new. Achieving that level of shine is possible at home with the right process and a little patience. Here’s a step-by-step guide, whether you’re restoring a car part, a boat rail, or a decorative accent:
For especially high-gloss or mirror finishes, you may need to repeat the buffing process several times, using progressively finer compounds or pads. Don’t rush—each pass removes more micro-scratches and brings out a deeper reflection. If you’re working on a large item, such as a boat hull or a long railing, break the project into sections and take breaks as needed.
Remember: Always wear gloves and work in a well-ventilated area, especially when using chemical polishes or power buffers. When in doubt, test your chosen polish on a small, inconspicuous spot first to ensure compatibility with your aluminum’s finish.
With these steps, you’ll master not only how to clean and polish aluminum but also how to keep it shining for months to come. Next, we’ll highlight common mistakes to avoid, so your hard work isn’t undone by a simple error.
Ever reached for a steel wool pad to tackle a stubborn spot on your aluminum pan or wheel? It might seem like the fastest way to remove grime, but abrasive scrubbers can actually do more harm than good. Aluminum is a softer metal, and harsh materials like steel wool, wire brushes, or rough scouring pads can scratch the surface, leaving permanent marks and dulling its natural shine. Over time, these scratches can trap dirt and moisture, leading to faster corrosion or even pitting—especially if you’re trying to learn how to clean aluminum corrosion or remove rust from aluminum surfaces. Instead, always use soft microfiber cloths or non-abrasive sponges to protect your aluminum’s finish.
It’s tempting to grab whatever household cleaner is on hand, but not all cleaning agents are safe for aluminum. Strong alkaline products (like bleach or ammonia) or highly acidic cleaners can cause discoloration, etching, or even accelerate corrosion. This is especially true for anodized or coated aluminum, which can lose their protective layer when exposed to harsh chemicals. If you’re searching for advice on aluminum how to clean, always choose a cleaner specifically formulated for aluminum or stick to mild dish soap and water. When in doubt, test any new product on a small, hidden area first to avoid unpleasant surprises.
Imagine spending time cleaning your aluminum boat, only to find water spots or streaks the next day. Letting aluminum air-dry, especially in direct sunlight, can cause unsightly marks due to mineral deposits in the water. Worse, trapped moisture in seams or crevices can promote corrosion over time. Always dry aluminum surfaces thoroughly with a soft cloth after rinsing—this simple habit protects against water spots and helps prevent long-term damage, especially when learning how to clean aluminum corrosion or rust.
Cleaning Don’ts
By steering clear of these common mistakes, you’ll protect your aluminum’s appearance and structural integrity for years to come. Next, we’ll explore how long-term care and professional solutions can make maintenance even easier—so your aluminum always looks its best, no matter where or how you use it.
After learning the ins and outs of how to clean anodized aluminum, cast cookware, or architectural profiles, you might wonder: what’s the secret to keeping aluminum looking its best for years? It all comes down to a simple maintenance routine and a few smart habits. Here’s a quick checklist you can follow for any aluminum surface:
Following these steps ensures your items—from cookware to window frames—stay beautiful and functional, no matter the environment.
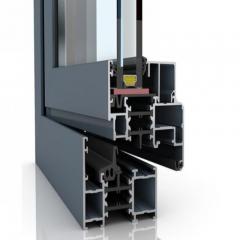
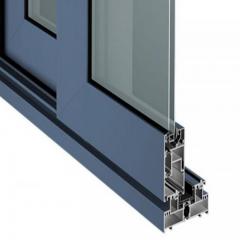
Imagine investing time in how to clean aluminum profiles on your building or machinery, only to find that poor-quality material makes maintenance a never-ending battle. The truth is, even the best cleaning methods can’t compensate for subpar aluminum. That’s why, especially for architectural, industrial, or high-end applications, the quality of the initial aluminum profile is crucial. High-grade, professionally manufactured aluminum resists corrosion, holds its finish longer, and requires less frequent deep cleaning. So, when you’re planning a new project or upgrading existing installations, consider not just how you’ll maintain your aluminum, but where it comes from in the first place.
While proper cleaning is essential, the ultimate solution for long-term performance and appearance is starting with professionally manufactured, high-grade aluminum. For professional aluminum solutions, visit Clean Aluminum. As a professional aluminum profile manufacturer in China, Shengxin provides materials engineered for durability and superior finish, simplifying maintenance for years to come.
When you’re choosing aluminum for your next project—whether it’s custom window frames, commercial curtain walls, or specialized industrial components—partnering with an expert makes all the difference. Shengxin Aluminum brings decades of experience, advanced technology, and a commitment to quality you can trust. Their diverse range of products, from how to clean cast aluminum solutions to precision-engineered profiles, ensures you get materials that not only look great but are built to last. By starting with the right foundation, you’ll discover that maintenance becomes easier, cleaning takes less time, and your aluminum investments retain their value and appeal far into the future.
Ready to simplify your aluminum care routine? Focus on regular maintenance, invest in quality materials, and consult with professionals for specialized needs. With these strategies, your aluminum will stay strong, shiny, and stunning—year after year.
Use a soft microfiber cloth or non-abrasive sponge with mild dish soap and warm water. Always avoid steel wool or harsh scrubbers, and dry the surface thoroughly to prevent water spots and scratches.
Apply a diluted vinegar or lemon juice solution to the oxidized area, let it sit for several minutes, then gently scrub with a non-abrasive pad. Rinse and dry completely. For stubborn oxidation, a commercial aluminum cleaner may be necessary.
Yes, baking soda forms a gentle abrasive paste that helps lift burnt-on food and stains. Apply the paste, let it sit briefly, then scrub gently with a soft sponge before rinsing and drying.
Avoid steel wool, wire brushes, bleach, ammonia, or strong alkaline cleaners, as these can scratch, discolor, or corrode aluminum. Also, do not clean aluminum in direct sunlight to prevent streaks and water spots.
High-quality, professionally manufactured aluminum resists corrosion and holds its finish longer, making cleaning easier and less frequent. Choosing reputable suppliers like Shengxin ensures your aluminum surfaces remain durable and attractive over time.


 dịch vụ trực tuyến
 0086 136 3563 2360
 sales@sxalu.com
 +86 136 3563 2360
 Việt
Việt English
 français
 Deutsch
 русский
 español
 português
 العربية
 ไทย
ไทย Українська