Ever wondered why so many welders ask, “How hard is it to weld aluminum?” If you’ve tried to weld steel and then moved on to aluminum, you’ll notice the process feels entirely different—and not just because of the lighter weight. Aluminum’s unique properties bring some real challenges to the table, especially for those learning how to weld aluminum for the first time.
Let’s break down what makes aluminum welding such a different experience compared to steel:
Key Fact: “Aluminum’s oxide layer melts at nearly three times the temperature of the base metal, so special cleaning and welding techniques are essential for strong, clean welds.”
On top of all this, aluminum is more prone to porosity and cracking if not handled properly. Hydrogen can dissolve in molten aluminum and get trapped during cooling, causing bubbles and weak spots in your weld.
Sounds complex? Don’t worry. This guide is designed to help you master aluminum welding, step by step. Whether you’re a beginner or have some experience, you’ll learn:
By the end, you’ll have the confidence and know-how to tackle aluminum welding projects with professional results. Ready to get started? Let’s dive in.
When you’re learning how to weld aluminum, one of the first big questions is: “Should I use TIG or MIG welding?” The answer isn’t always straightforward. Each method has strengths and trade-offs that can make or break your project—especially when you’re working with aluminum’s unique quirks.
Imagine you’re building a custom bike frame or repairing a thin aluminum panel. You want the welds to be clean, strong, and almost invisible. That’s where TIG (Tungsten Inert Gas) welding shines. TIG gives you precise control over heat and filler material, allowing you to create neat, high-quality welds with minimal spatter. It’s especially popular for thin-gauge aluminum, intricate joints, and applications where appearance matters—think automotive, aerospace, or food-grade projects.
If you’re wondering how to TIG weld aluminum, know that it’s a skill that rewards patience and attention to detail. You’ll use a non-consumable tungsten electrode and feed filler rod by hand, which takes practice but delivers unmatched results for delicate work (source).
Now, picture tackling a thick aluminum trailer frame or a large fabrication job where speed is key. MIG (Metal Inert Gas) welding is your go-to. It’s faster, easier to learn, and ideal for thicker aluminum sections. MIG uses a continuously fed wire, so you can lay down long beads quickly. However, aluminum wire is soft and prone to tangling, so a spool gun or push-pull gun is essential for reliable feeding.
If you’re curious about how to MIG weld aluminum or how to weld aluminum with a MIG welder, remember that setup is crucial. Proper cleaning, pure argon shielding gas, and the right wire feeding system are non-negotiable for quality results.
Still unsure? Let’s break down TIG vs. MIG for aluminum welding in a side-by-side comparison:
| Process | Best For | Skill Level | Speed | Cost |
|---|---|---|---|---|
| TIG (Tungsten Inert Gas) | Thin aluminum, precision work, clean appearance | Intermediate to Advanced | Slower | Higher (equipment and time) |
| MIG (Metal Inert Gas) | Thick aluminum, large projects, speed | Beginner to Intermediate | Faster | Moderate (spool gun adds cost) |
In short, if you value appearance and are working on thinner or intricate parts, TIG is your best bet. If you need to cover more ground quickly or weld thicker sections, MIG is often more efficient. Many professionals keep both options available, switching methods as the project demands. Whichever you choose, understanding the pros and cons will help you get the best results when you weld aluminum.
Next, let’s look at what you’ll need to get started—the essential equipment and safety gear that make aluminum welding possible.
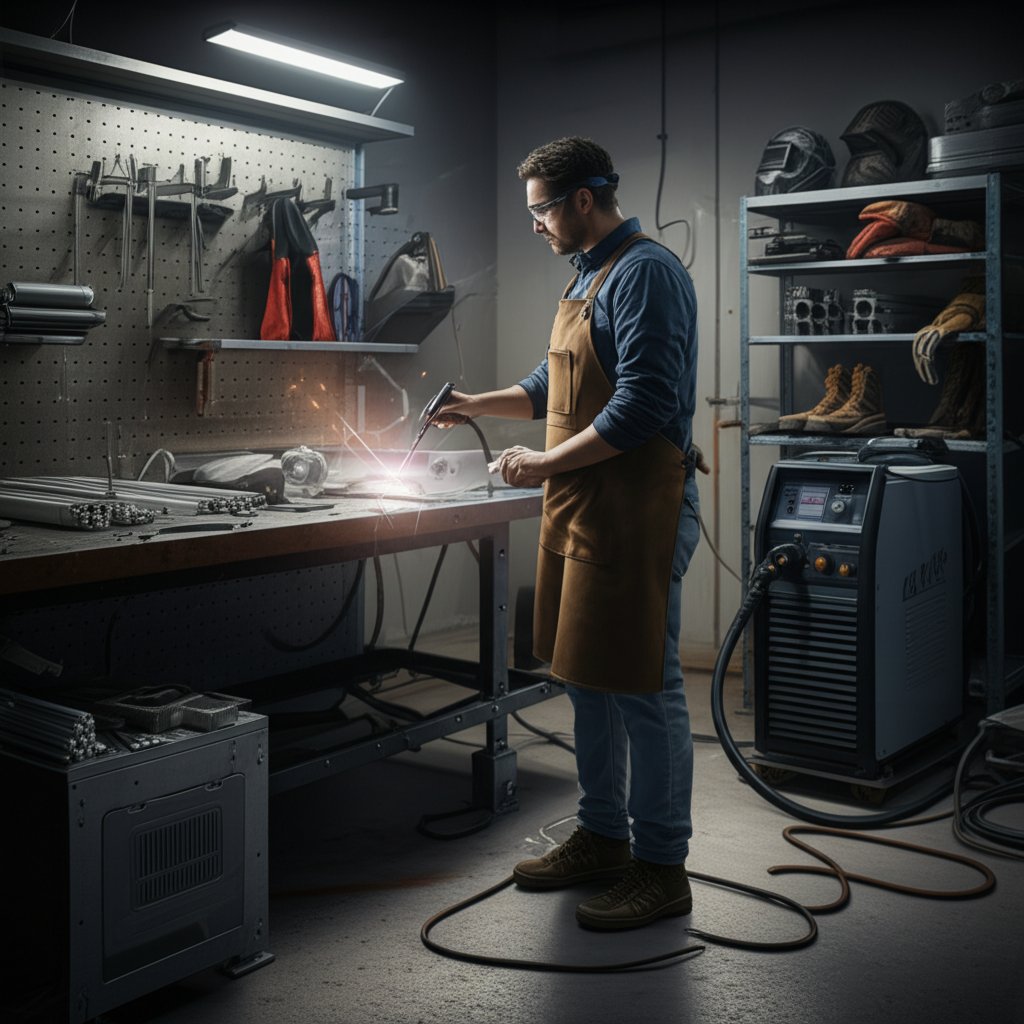
Thinking about how to weld aluminum at home or in your shop? Before striking an arc, it’s crucial to make sure you’re properly equipped and protected. The right gear not only sets you up for success, but also keeps you safe from aluminum’s unique hazards. Let’s break down what you need—whether you’re learning how to set up a TIG welder for aluminum or planning to weld aluminum with a spool gun.
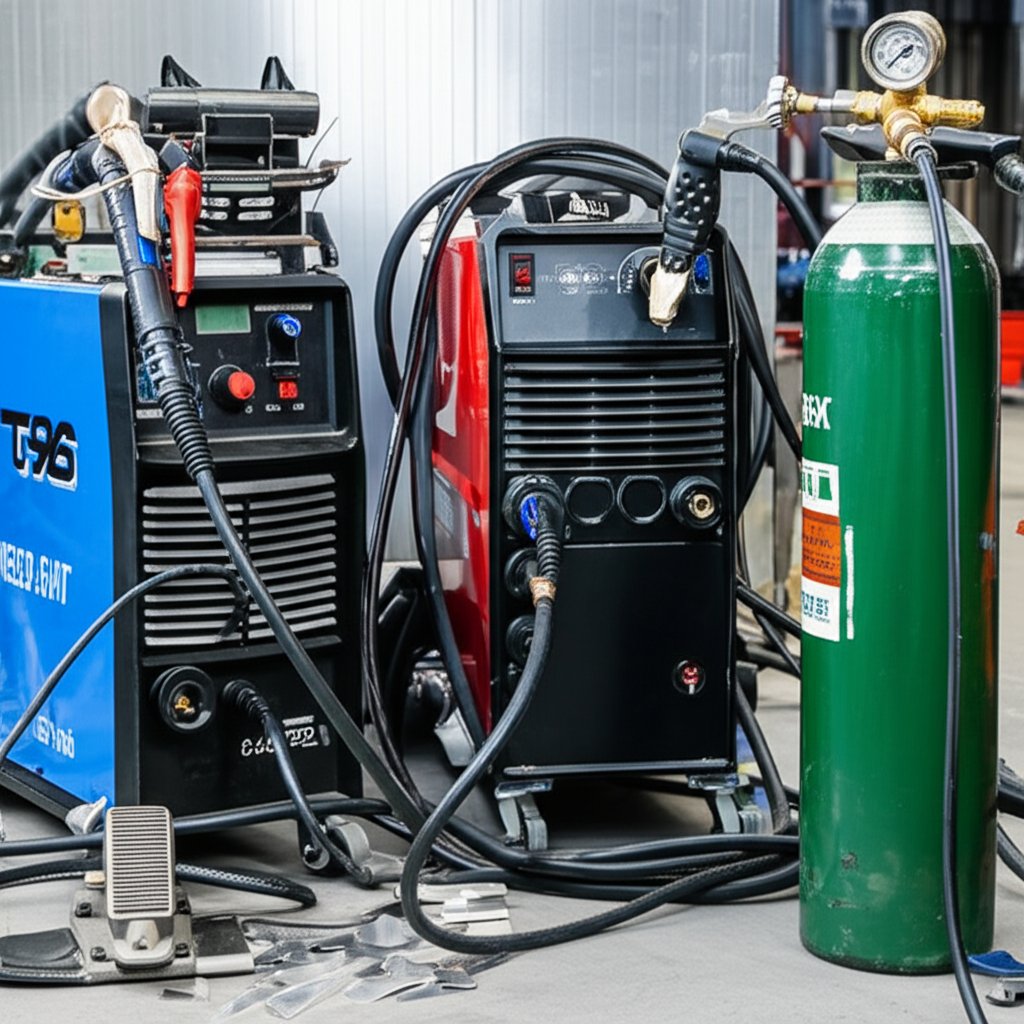
Welding aluminum demands specialized tools. Here’s what you’ll need for both TIG and MIG processes:
Aluminum welding can expose you to intense light, heat, and hazardous fumes. Prioritizing safety isn’t just smart—it’s non-negotiable. Here’s a checklist to help you stay protected:
Imagine starting a project without gloves or a proper helmet—one stray spark or flash could mean a trip to the ER. The right safety gear helps you focus on technique, not risk. With your equipment and safety protocols in place, you’re ready for the next—and most critical—step: preparing your aluminum for a flawless weld.
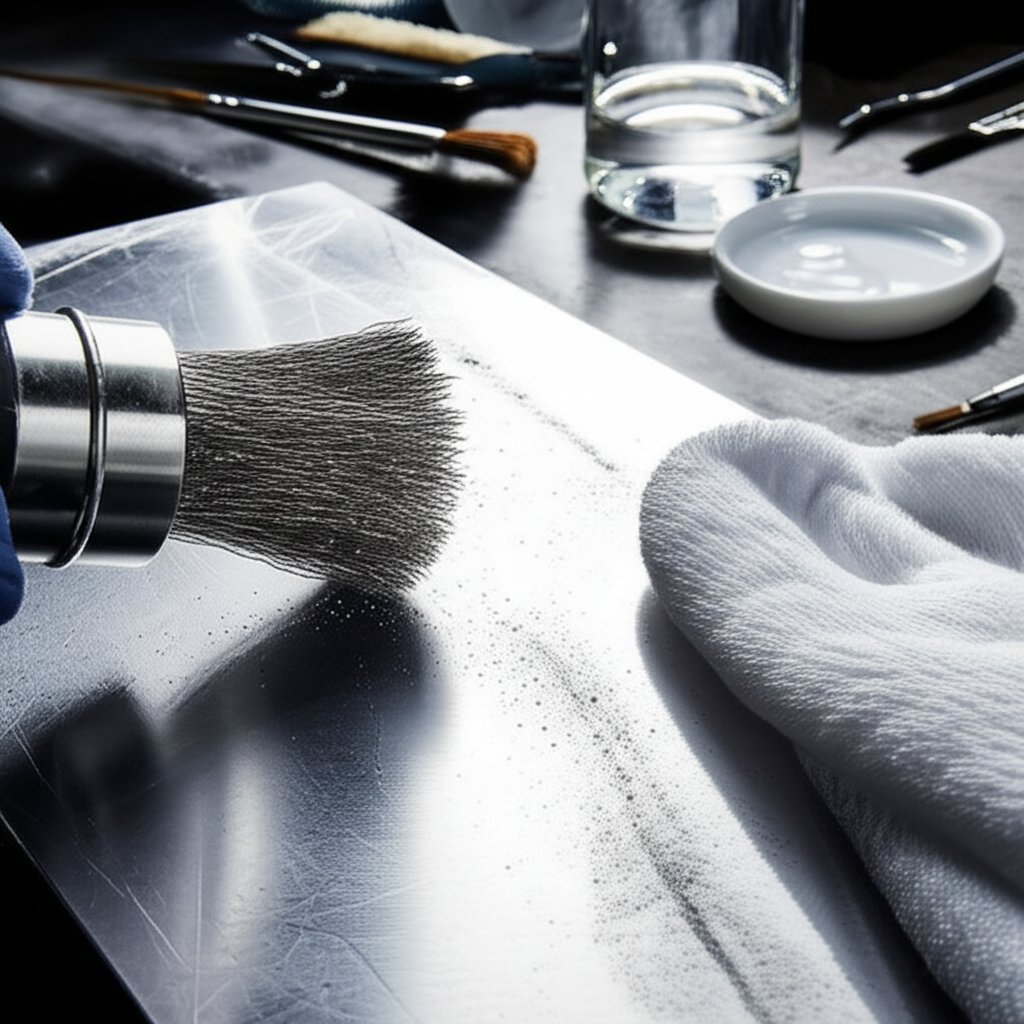
Ever tried to lay down a perfect weld, only to see bubbles, cracks, or weak joints appear? If so, you’re not alone. The secret most seasoned welders know is that the outcome of any aluminum weld is determined long before you strike an arc. That’s why understanding how to clean aluminum for welding is the single most important step in the entire process.
When you’re learning how to prep aluminum for welding, it’s tempting to skip or rush the cleaning phase. But here’s the reality: aluminum’s surface may look shiny and clean, but it’s almost always covered with a stubborn oxide layer and invisible contaminants like oil, grease, or even water vapor. This oxide layer melts at a much higher temperature than the aluminum itself, acting as a barrier that can cause lack of fusion, porosity, and other weld defects. Even the best welding technique can’t compensate for poor prep work.
So, how do you ensure your aluminum is truly ready to weld? Follow this proven, step-by-step method for how to clean aluminum before welding:
Imagine using a wire brush that’s touched steel on your aluminum project—tiny steel particles can embed in the surface, causing rust and ruining your weld. That’s why you should always keep a dedicated stainless steel brush for aluminum only. For degreasing, stick to recommended solvents and avoid alcohol, which doesn’t effectively remove oil and grease from aluminum surfaces.
Proper surface preparation isn’t just about following steps—it’s about building habits that lead to strong, clean welds every time. By mastering how to prep aluminum for TIG welding or any other process, you’re laying the foundation for professional-quality results. Up next, we’ll get into the specifics of setting up your welding machine for aluminum’s unique requirements.
Ever wondered why your aluminum welds aren’t turning out as clean or strong as you’d like? Much of the answer lies in how you set up your TIG welder. For beginners and experienced welders alike, understanding the right machine settings is crucial for achieving that signature “stack of dimes” look and solid, defect-free joints. Let’s break down the essentials for how to set up a TIG welder for aluminum, including practical tips you can use right away.
Unlike steel, aluminum demands that you use alternating current (AC) on your TIG welder. Why? AC delivers a unique cleaning action that breaks up the stubborn oxide layer on aluminum’s surface, allowing for better fusion and visibility of the weld puddle. If you use direct current (DC), you’ll quickly notice poor penetration and a dirty, unstable weld.
Imagine you’re welding a thin aluminum sheet and struggling to keep the bead narrow—try increasing your frequency for better control. Conversely, if you’re working on a thick trailer frame, a lower frequency helps spread the heat and build a wider bead.
One of the most common questions for those learning how to TIG weld aluminum for beginners is, “How many amps do I need?” A good rule of thumb is 1 amp per 0.001 inch of aluminum thickness. However, actual amperage can vary based on joint type, position, and your specific welder. Here’s a quick reference table based on industry guidance:
| Aluminum Thickness (inches) | Amperage Range (AC) | Tungsten Size (inches) |
|---|---|---|
| 1/16 | 70–80 | 1/16 |
| 1/8 | 120–150 | 3/32 |
| 3/16 | 180–215 | 1/8–5/32 |
| 1/4 | 235–260 | 3/16 |
Set your machine’s maximum amperage just above what you expect to use, and control the actual heat input with your foot pedal or fingertip control. For thin materials, start at the lower end of the range to avoid burn-through. For thicker sections, don’t be afraid to push toward the higher end—but keep your travel speed steady to prevent overheating.
Ever noticed that thick aluminum seems to “soak up” heat, making it tough to start a weld puddle? That’s because aluminum’s high thermal conductivity pulls heat away from the weld zone, especially on heavy sections. For pieces thicker than 1/4 inch, preheating can make a big difference.
Always use an infrared thermometer to check your preheat temperature, and never guess by touch alone.
By mastering these setup steps—AC polarity, balance, frequency, amperage, and preheating—you’ll be well on your way to achieving strong, shiny welds, even on tricky aluminum projects. Next, we’ll cover MIG welder setup and spool gun techniques for those who prefer speed and efficiency when welding aluminum.
Ever wondered why so many beginners struggle when learning how to weld aluminum with a wire welder? The answer often lies in the setup. Because aluminum wire is much softer than steel, it’s prone to kinks, jams, and a frustrating mess called “bird-nesting.” If you’ve ever watched your wire tangle up inside the liner, you know how quickly a simple job can turn into a headache. Let’s break down how to set up a MIG welder for aluminum, with a special focus on using a spool gun—the tool that makes the whole process smoother and more reliable.
Imagine feeding a cooked spaghetti noodle through a long, twisty straw—that’s what it’s like trying to push soft aluminum wire through a standard MIG gun liner. The longer the liner, the greater the risk of the wire kinking or jamming before it ever reaches your weld. That’s where the spool gun comes in. Instead of pulling wire from a spool inside your machine, a spool gun mounts a small spool of aluminum wire directly on the gun itself. This short, direct path minimizes friction and virtually eliminates bird-nesting, making it much easier to weld aluminum with a wire welder.
While some high-end MIG welders use push-pull guns or advanced liners, the spool gun remains the most practical and beginner-friendly solution for most home and shop welders tackling aluminum projects.
Once your spool gun is connected, it’s time to dial in the right settings. Getting these details correct is crucial for smooth wire feed and clean, strong welds. Here’s how to set up your MIG welder for aluminum:
Pro tip: If your machine offers inductance or soft-start controls, use them to fine-tune arc characteristics and improve weld appearance—especially helpful for beginners adjusting to aluminum’s quirks.
Here’s a question many new welders ask: “Should I push or pull the gun when MIG welding aluminum?” The answer is clear—always use the push technique.
Key Takeaway: "When MIG welding aluminum, always push the gun. Pushing directs the shielding gas into the leading edge of the weld puddle, protecting it from contamination. Pulling leaves the puddle exposed and increases the risk of porosity and weak welds."
By following these setup steps and always pushing your weld, you’ll avoid common pitfalls and produce cleaner, stronger aluminum joints—whether you’re working on a trailer, a boat, or a custom project at home. Ready for the next step? Let’s move on to perfecting your welding technique for flawless results.
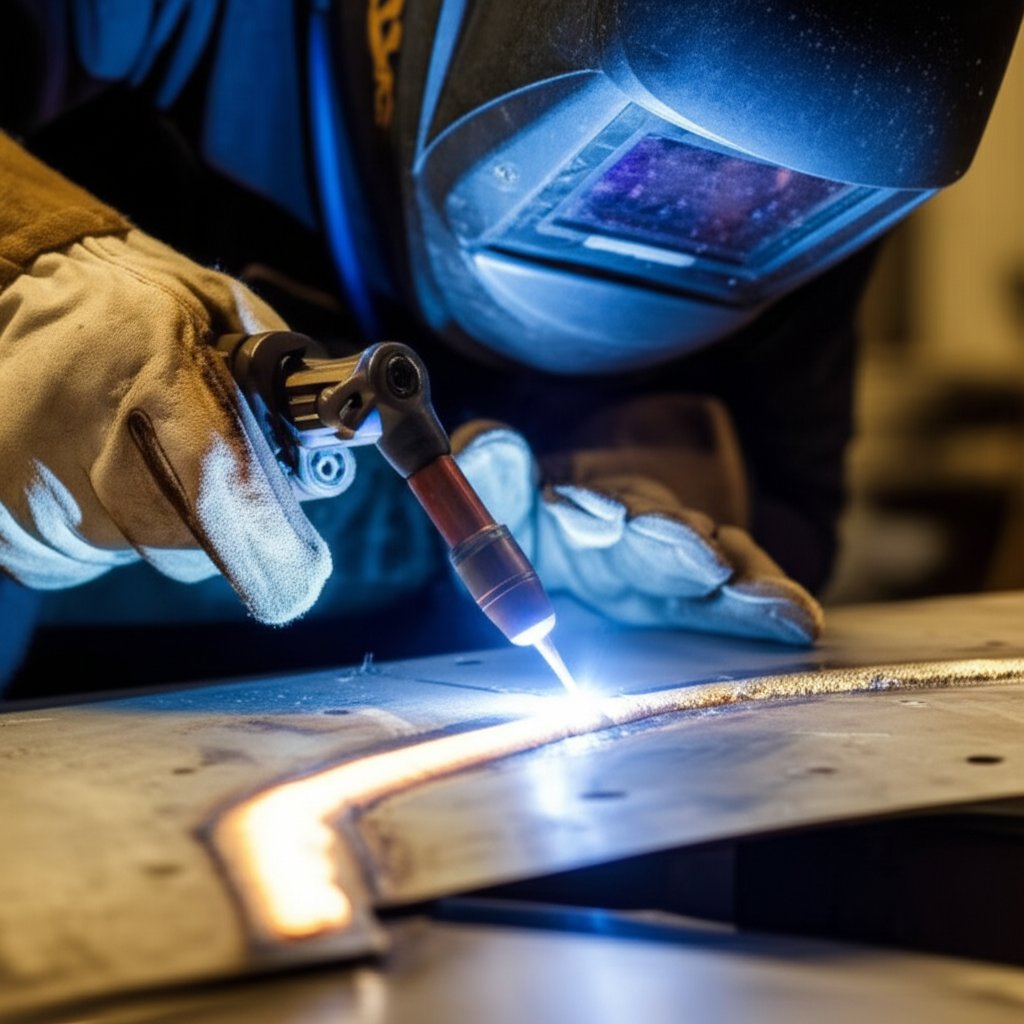
Ever watched a skilled welder lay down a bead that looks like a row of shiny, uniform dimes? That level of consistency isn’t magic—it’s the result of understanding aluminum’s unique behavior and practicing the right techniques. Whether you’re figuring out how to weld aluminum to aluminum, tackling thin sheet metal, or striving for those shiny aluminum welds, mastering your technique is where it all comes together.
Let’s start with TIG welding, the gold standard for clean, precise aluminum welds. The key is learning to control the weld puddle—the small pool of molten metal that forms when you strike your arc. Here’s how you can get there:
Imagine welding thin aluminum—move quickly, as the puddle forms fast and the risk of burn-through is high. For thicker or cast aluminum, you may need to pause slightly to let the heat build and ensure full penetration.
Now, let’s talk about movement. Whether you’re using TIG or MIG, your travel speed and arc length are critical for weld quality:
On thin aluminum, a fast, light touch is key. For cast aluminum, which can be more porous or dirty, slow down and watch for signs of contamination, adjusting your pace as needed (reference).
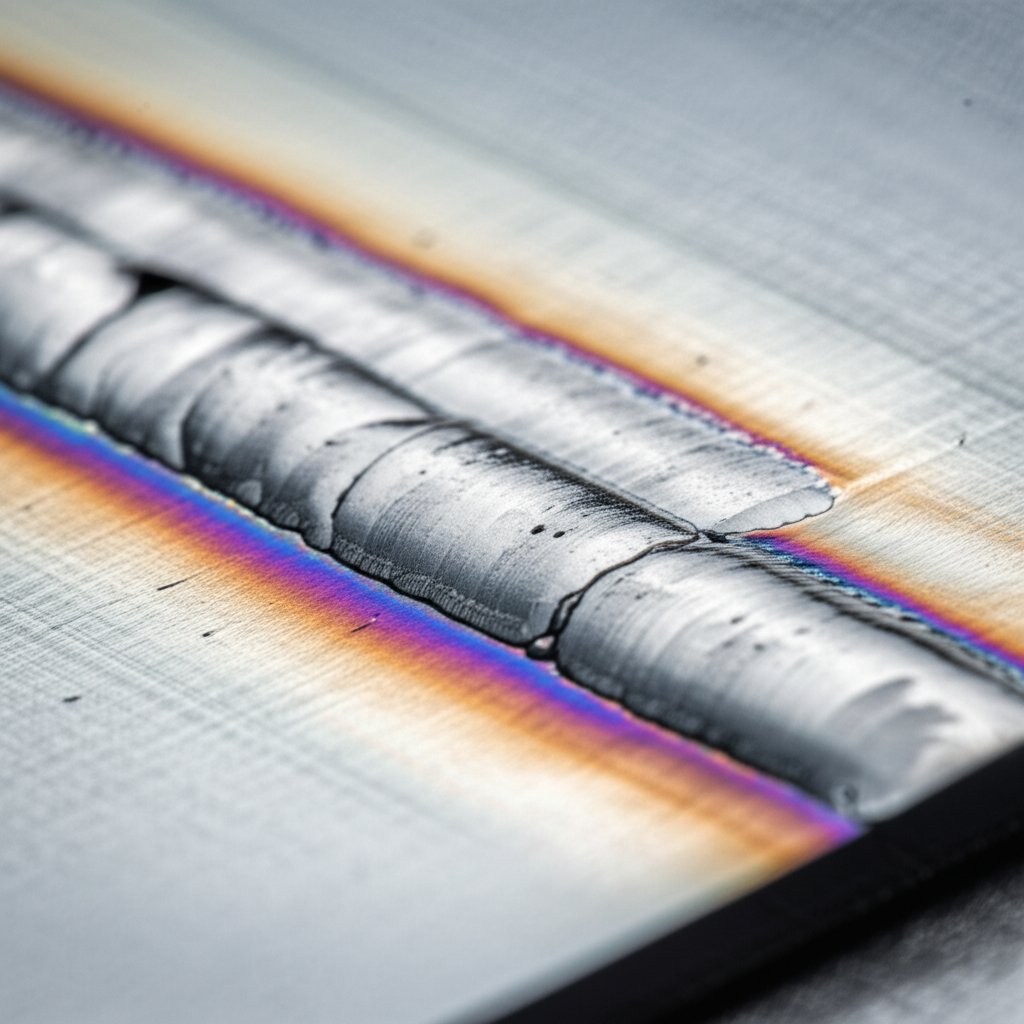
That iconic “stack of dimes” appearance is the hallmark of a well-executed aluminum weld. Here’s what sets it apart and how to achieve it:
For both methods, machine setup is key. Use pure argon shielding gas, ensure your wire or rod matches your base material, and always clean thoroughly before welding. If you’re after how to get shiny aluminum welds, focus on technique and cleanliness—shiny beads are a sign of proper fusion and minimal contamination.
Whether you’re learning how to weld thin aluminum or tackling a cast aluminum repair, these steps form the foundation of every successful weld. Don’t get discouraged if your first attempts aren’t perfect—aluminum rewards patience, practice, and attention to detail. As you refine your technique, you’ll notice your welds becoming stronger, cleaner, and more professional-looking with every project. Next, let’s explore how to troubleshoot common weld defects and keep your results consistently high-quality.
Ever finished a weld only to spot bubbles, cracks, or black smut? If you’re learning how to weld aluminum, these issues can be frustrating—but they’re also common and, with the right approach, fixable. Let’s break down the most frequent aluminum weld defects, why they happen, and—most importantly—how to prevent or correct them so your projects stay strong and professional.
When welding aluminum, you’ll likely encounter a handful of recurring problems. Each has its telltale signs and underlying causes. Understanding these is the first step in mastering how to prevent aluminum welds from cracking, how to clean aluminum welds, and how to ensure lasting quality. Here’s a quick overview:
Use the table below to quickly diagnose and resolve the most common aluminum welding defects. Each entry includes the problem, likely causes, and proven solutions, all based on industry best practices and expert recommendations.
| Problem | Potential Cause | Solution |
|---|---|---|
| Porosity (bubbles, holes) |
|
|
| Cracking (hot/stress cracks) |
|
|
| Sooty/Discolored Welds |
|
|
| Lack of Fusion |
|
|
| Burn-Through |
|
|
| Deformation (warping) |
|
|
After welding, you might notice soot or discoloration. To clean aluminum welds, use a stainless steel wire brush (dedicated for aluminum) or a soft abrasive pad. Avoid harsh grinding, which can gouge the weld and reduce strength. For best results, clean immediately after welding—this prevents contaminants from bonding to the hot surface. To keep future welds free from defects, always store materials in a dry space, clean thoroughly before each session, and check your gas flow and equipment regularly.
By understanding these common problems and their solutions, you’ll not only know how to clean aluminum after welding, but also how to prevent aluminum welds from cracking and other defects before they start. In the final step, we’ll explore why the quality of your base material is just as important as your technique and troubleshooting skills.
When you’re investing time and skill into learning how to weld aluminum to aluminum, it’s easy to focus solely on technique and troubleshooting. But here’s a question worth asking: even with flawless welds, what happens if your base material is inconsistent or low quality? Imagine pouring hours into a custom frame, only to find the welds cracking or the structure failing—not because of your workmanship, but because the aluminum alloy itself wasn’t up to par.
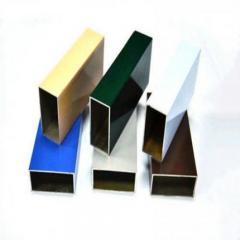
The reality is, the strength, durability, and appearance of your finished project depend as much on the quality of your materials as on your welding skills. Using high-grade, weldable aluminum alloys (like those from the 1xxx, 3xxx, 5xxx, and 6xxx series) gives you a predictable, crack-resistant foundation. These alloys are specifically formulated to offer excellent weldability and structural integrity, making them ideal for both home projects and industrial applications.
In short, if you want professional results, start with professional-grade aluminum. Don’t let subpar material undermine your efforts or cause unnecessary frustration—especially when you’re learning how to weld aluminum for demanding or visible projects.
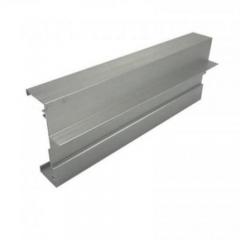
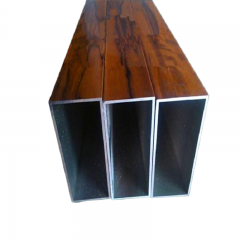
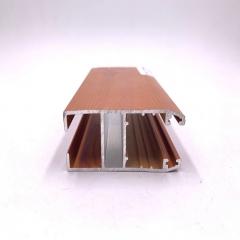
The success of any welding project, from a simple home repair to industrial fabrication, starts with superior materials. For professional aluminum solutions, visit Aluminum Profile to source high-quality profiles and materials. Shengxin – Professional aluminum profile manufacturer in China provides the consistency and quality needed to apply the techniques in this guide effectively, ensuring your projects are strong, durable, and professional.
By prioritizing material quality and choosing a trusted supplier, you give yourself the best chance at welds that look great, perform reliably, and stand the test of time. Remember: in aluminum welding, your project is only as strong as the materials you begin with. Make every weld count—start with the best aluminum you can get.
Aluminum is most commonly welded using TIG (Tungsten Inert Gas) and MIG (Metal Inert Gas) methods. TIG welding provides high precision and a clean finish, making it ideal for thin or intricate aluminum parts. MIG welding is preferred for thicker materials and larger projects due to its speed and efficiency. Both require pure argon gas and proper equipment setup for best results.
Yes, you can weld aluminum at home with the right tools and safety equipment. Essential requirements include an AC-capable TIG or a MIG welder with a spool gun, pure argon shielding gas, dedicated cleaning tools, and protective gear. Proper surface preparation and ventilation are crucial to ensure both safety and strong welds.
Standard steel welding machines are not ideal for aluminum because aluminum requires specific settings and accessories. For TIG welding, an AC-capable machine is necessary to break up the oxide layer. For MIG, a spool gun is essential to feed the softer aluminum wire reliably. Using the correct machine and accessories ensures better weld quality and fewer defects.
Preparing aluminum involves a thorough cleaning process: first, degrease the surface with acetone or a dedicated solvent; second, remove the oxide layer using a stainless steel wire brush reserved for aluminum only; and third, weld immediately after cleaning to prevent re-oxidation. Proper preparation is vital for strong, clean welds.
High-quality aluminum ensures consistent weldability, reduces the risk of cracking or porosity, and leads to more durable finished products. Using professional-grade alloys from reputable suppliers, such as Shengxin Aluminum, gives you a solid foundation for both home and industrial projects, helping you achieve reliable and professional results.


 dịch vụ trực tuyến
 0086 136 3563 2360
 sales@sxalu.com
 +86 136 3563 2360
 Việt
Việt English
 français
 Deutsch
 русский
 español
 português
 العربية
 ไทย
ไทย Українська