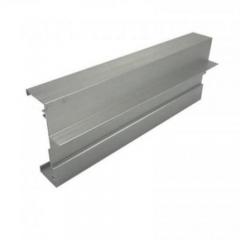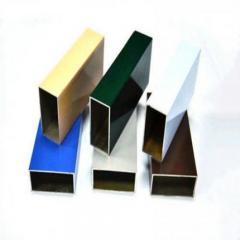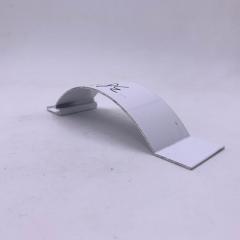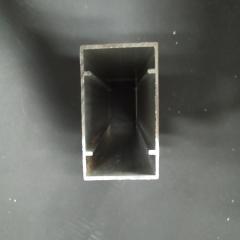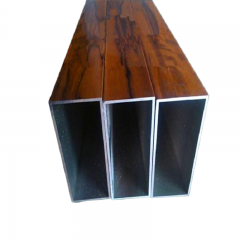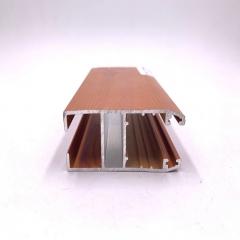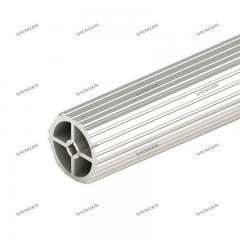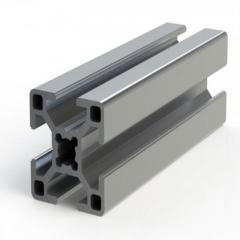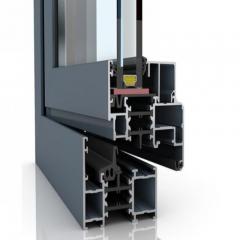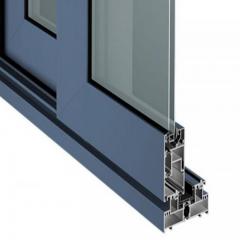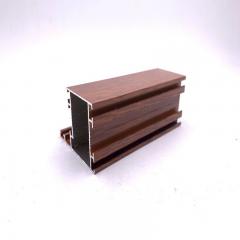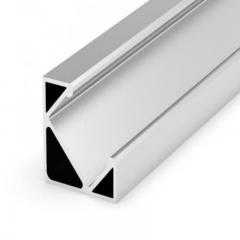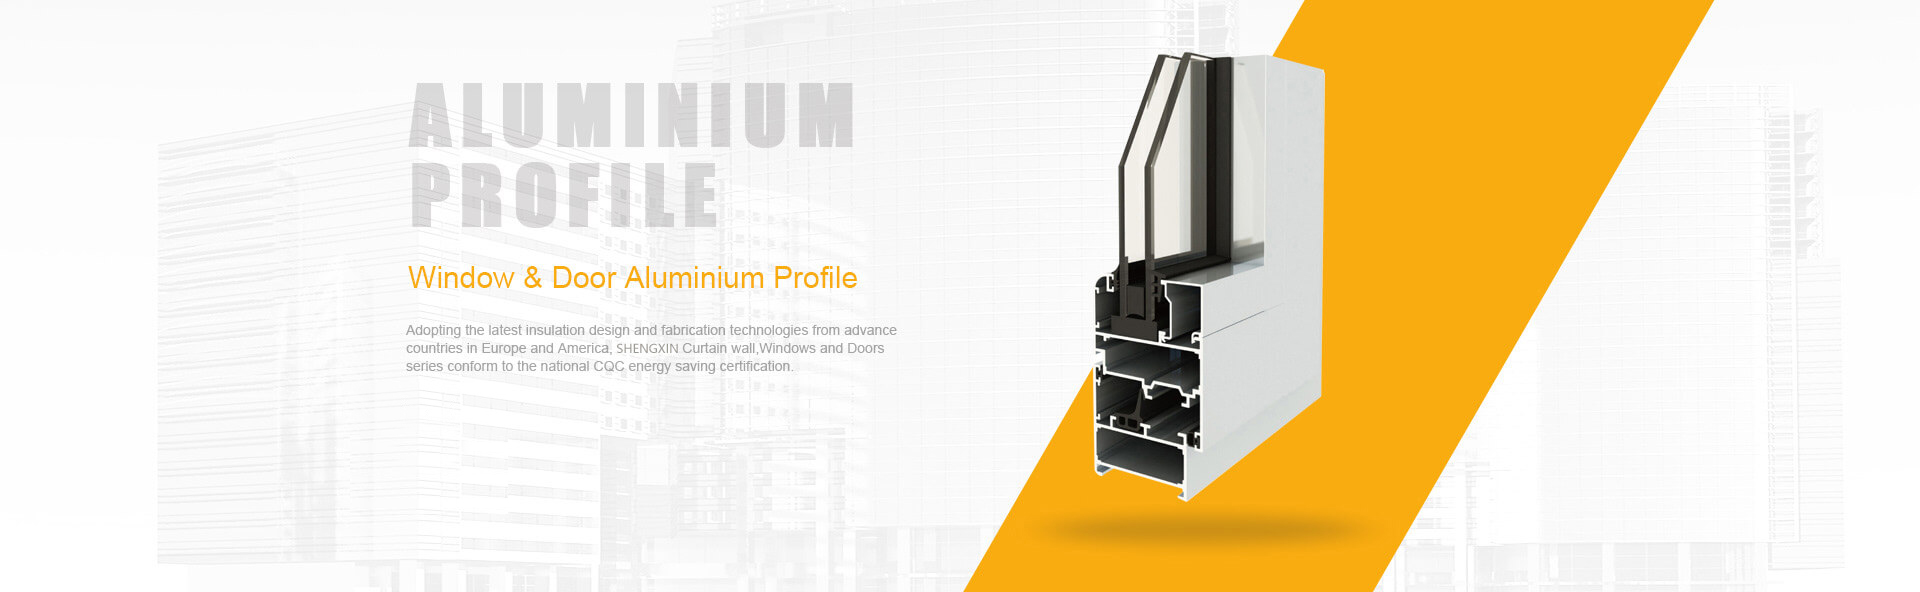
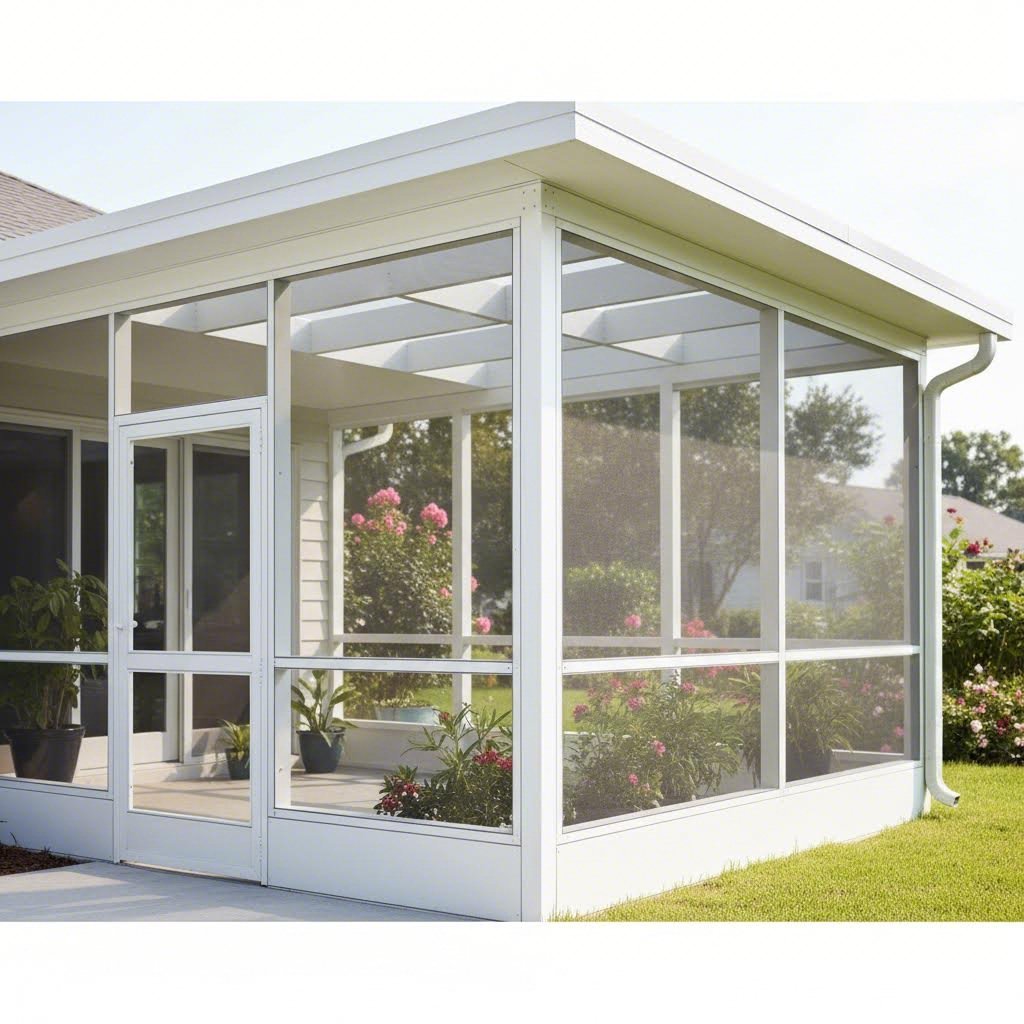
When you're planning to extend your outdoor living space with a screened enclosure, the framing material you choose determines everything—from how long your structure lasts to how much maintenance it demands over the years. Screen room aluminum extrusion refers to specially designed aluminum profiles created through a precision manufacturing process, forming the structural backbone of modern screen enclosures, porches, and sunrooms.
But what exactly makes this material so essential for outdoor structures? Let's break it down in simple terms.
Aluminum extrusion is a manufacturing process where heated aluminum alloy is forced through a shaped die opening under immense pressure, creating continuous profiles with consistent cross-sectional shapes. This process produces the precise aluminum framing components used in screen room construction.
Imagine comparing a custom-tailored suit to an off-the-rack option. That's essentially the difference between extruded aluminum framing and alternatives like wood or roll-formed aluminum. The aluminum extrusion frame delivers dimensional precision that other materials simply cannot match.
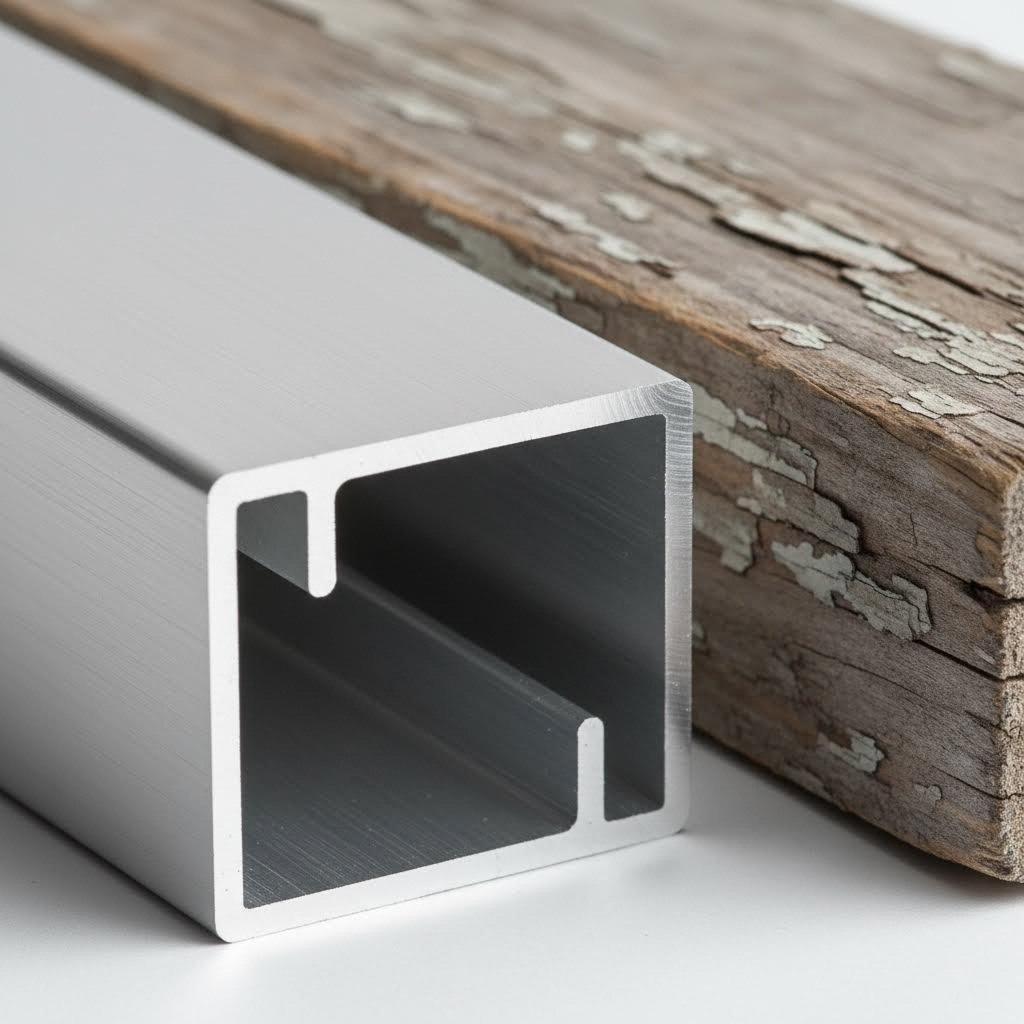
Wood framing, while offering natural aesthetics, presents significant challenges in outdoor environments. It warps, rots, and requires constant sealing and painting to combat moisture damage. Roll-formed aluminum—created by bending flat sheets into shapes—lacks the structural integrity and wall thickness consistency that extruded profiles provide.
An extruded frame offers several distinct advantages:
When examining aluminum window screen frame material options, extruded profiles stand apart because they're engineered specifically for their intended purpose—not adapted from generic shapes.
Understanding how your aluminum structure comes to life helps you appreciate its quality and durability. The extrusion process follows a precise sequence that transforms raw aluminum into the profiles framing your screen room.
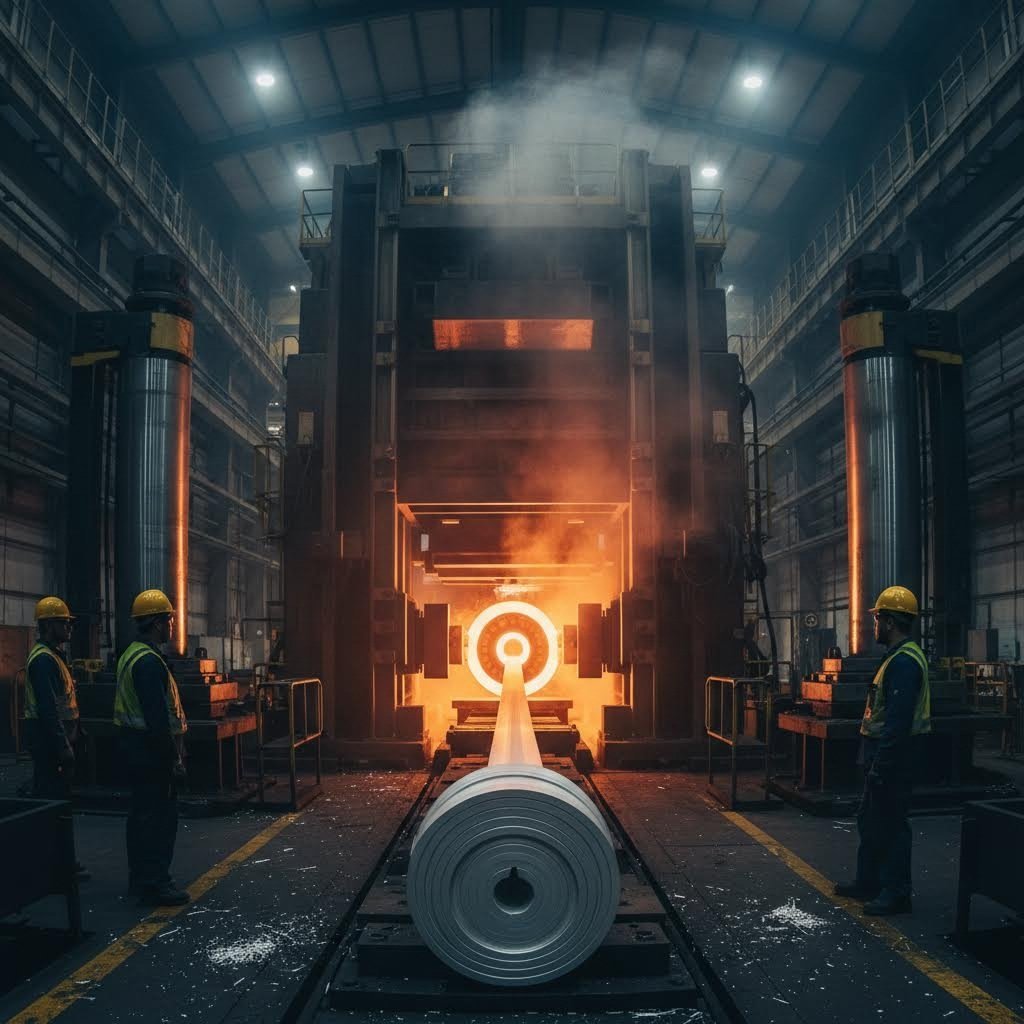
First, manufacturers preheat a specialized die to approximately 450-500°C before the process begins. According to Wayken's technical documentation, this preheating ensures even metal flow and maximizes the die's longevity. A cylindrical aluminum billet is then heated separately to 400-500°C—hot enough to become malleable but not molten.
Here's where the magic happens: a hydraulic ram applies up to 15,000 tons of pressure, forcing the softened aluminum through the die opening. The material emerges fully formed with the exact profile shape needed for your aluminum framing application. After exiting the press, the profile undergoes controlled cooling through water baths or fans—a critical "quenching" step that establishes the material's final properties.
The finished extrusions are then stretched to remove any twists, cut to specified lengths, and aged to achieve the proper temper rating. This meticulous process explains why extruded aluminum framing maintains such remarkable consistency across every component in your screen room system.
For homeowners researching screen room projects, understanding these fundamentals helps you recognize quality materials and make informed decisions about your outdoor living investment.
Now that you understand what screen room aluminum extrusion is and how it's made, you're probably wondering: why has this material become the industry standard? The answer lies in a combination of performance characteristics that no other framing material can match—especially when facing the relentless challenges of outdoor environments.
When comparing screen porch materials, homeowners and contractors consistently arrive at the same conclusion: extruded aluminum outperforms wood, vinyl, and roll-formed alternatives in virtually every measurable category. Let's explore exactly why an aluminum screen porch has become the go-to choice for lasting outdoor living spaces.
Picture your screened enclosure facing years of sun exposure, humidity, temperature swings, and driving rain. How will your framing material hold up? This is where extruded aluminum truly shines.
Unlike steel or iron that rusts and flakes when exposed to moisture, aluminum forms a natural protective oxide layer almost instantaneously when it contacts air. According to research from Eabel's corrosion analysis, this thin, invisible layer bonds tightly to the surface and blocks moisture and oxygen from reaching the raw metal underneath. The result? Your metal screen porch framework actively protects itself without requiring paint or coating.
Wood framing tells a different story entirely. Even pressure-treated lumber eventually succumbs to rot, warping, and insect damage. Vinyl becomes brittle under UV exposure and can crack in extreme temperatures. Roll-formed aluminum—while sharing the same base material—lacks the wall thickness and structural consistency that makes extruded profiles so resilient.
Consider these real-world durability factors:
Here's a fact that might surprise you: aluminum has a density around one-third that of steel, yet when properly alloyed, it delivers comparable structural performance. According to AZoM's materials research, this exceptional strength-to-weight ratio makes aluminum one of the most important structural materials available.
What does this mean for your aluminium screen porch project? Lighter components are easier to handle during installation, reduce stress on supporting structures, and allow for longer unsupported spans. A metal screen for porch applications can bridge wider openings without requiring additional support posts—giving you cleaner sightlines and a more open feel.
The addition of specific alloying elements like magnesium, silicon, and manganese transforms pure aluminum into engineering-grade material. While pure aluminum has a tensile strength around 90 MPa, heat-treatable alloys used in screen room construction can exceed 200 MPa—more than double the strength while maintaining that lightweight advantage.
When evaluating materials for your screened enclosure project, these advantages make the decision clear:
These combined advantages explain why professionals building aluminum screened porches have largely abandoned wood and vinyl alternatives. The initial investment in quality extruded aluminum framing pays dividends through reduced maintenance, extended lifespan, and consistent performance regardless of climate conditions.
Understanding these material benefits is essential, but choosing the right extrusion system requires diving deeper into profile specifications and series designations—details that determine whether your framing can handle your specific project requirements.
You've likely encountered terms like "100 Series" or "200 Series" while researching screen room aluminum extrusion options—but what do these designations actually mean? Surprisingly, most suppliers mention these classifications without ever explaining them. Understanding the differences between extrusion series and profile dimensions is crucial for matching your framing to your project's structural demands.
Think of it this way: choosing the wrong extrusion series for your project is like selecting floor joists rated for a bedroom to support a grand piano. The material might look identical, but the performance difference could mean the difference between a lasting structure and a costly failure.
The series designation in screen porch framing refers to the profile's wall thickness and overall structural capacity—not simply its external dimensions. Here's what separates these two common classifications:
100 Series Extrusions feature lighter wall thicknesses, typically ranging from 0.050" to 0.062". These profiles work well for residential screen rooms with moderate spans and standard wind load requirements. If you're building a basic patio enclosure in a low-wind zone with spans under 10 feet, 100 Series components often provide adequate performance at a lower material cost.
200 Series Extrusions offer heavier wall construction, generally 0.062" to 0.090" or greater. This additional material translates directly into higher load capacity and longer allowable spans. For larger enclosures, coastal installations, or areas with elevated wind speed requirements, 200 Series aluminum screen porch frame parts become essential.
The screen porch framing details that matter most include moment of inertia and section modulus—engineering terms describing how well a profile resists bending. According to MISUMI's load capacity guidelines, a 40x40mm profile has a sectional moment of inertia of 8.9 x 10⁴ mm⁴, while an 80x40mm profile oriented correctly jumps to 63.49 x 10⁴ mm⁴—over seven times the bending resistance despite only doubling one dimension.
What does this mean practically? The heavier 200 Series profiles allow your aluminum structural framing to span greater distances without deflecting excessively under wind loads or the weight of attached screen panels.
Beyond series classification, the actual profile dimensions determine what your framing can accomplish. Common sizes include 1x2, 2x2, 2x4, and specialty configurations—each suited to specific applications within your screen room system.
When selecting profiles for your aluminum frame kit, consider these key factors:
The 2x2 aluminum screen framing has become the workhorse of residential screen room construction. This profile balances structural capability with reasonable material costs and clean sightlines. An aluminium 2x2 profile offers sufficient rigidity for most vertical posts in standard-height enclosures while remaining manageable for DIY installation.
For horizontal members spanning wider openings, stepping up to 2x4 or rectangular profiles oriented with the long dimension vertical dramatically increases resistance to deflection. The reference data from MISUMI demonstrates this principle clearly: an 80x40mm profile allows a load of 8,529 N when oriented with the 80mm dimension vertical, versus only 2,469 N when rotated 90 degrees.
Use this comparison to match extrusion specifications to your project requirements:
| Profile Type | Typical Dimensions | Recommended Span | Best Applications |
|---|---|---|---|
| 100 Series 1x2 | 1" x 2" (25x50mm), 0.050" wall | Up to 6 feet | Screen frame cross members, light-duty rails, small window openings |
| 100 Series 2x2 | 2" x 2" (50x50mm), 0.055" wall | Up to 8 feet | Standard residential posts, intermediate rails, moderate wind zones |
| 200 Series 2x2 | 2" x 2" (50x50mm), 0.070" wall | Up to 10 feet | Taller enclosures, elevated wind requirements, commercial applications |
| 200 Series 2x4 | 2" x 4" (50x100mm), 0.080" wall | Up to 14 feet | Long horizontal spans, header beams, high wind coastal zones |
| Heavy-Duty 4x4 | 4" x 4" (100x100mm), 0.090" wall | Up to 16+ feet | Corner posts for large enclosures, pool cage structures, hurricane zones |
Keep in mind that these recommendations assume proper lateral bracing. As noted in Florida Engineering's structural analysis, chair rails and girts—secondary wall members—significantly stiffen primary structural members against applied loads. Even the strongest aluminum structural framing benefits from proper bracing to resist sway and distribute wind forces across the entire system.
When planning your screen porch framing layout, consider that columns are more prone to failure due to sway and buckling without chair rails. These horizontal members create linkage between vertical posts, stabilizing the enclosure walls so the structure resists lateral loads better as an integrated system.
Selecting the appropriate extrusion series and profile dimensions ensures your framing can handle the structural demands of your specific installation. However, the aluminum alloy and temper designation within those profiles determines the material's fundamental strength characteristics—technical specifications that deserve careful attention before finalizing your component selections.
You've selected your extrusion series and profile dimensions—but have you considered what's actually inside those aluminum frames for screens? The alloy designation stamped on your screen room aluminum extrusion tells a critical story about strength, workability, and long-term performance that most suppliers never explain.
Understanding these technical specifications separates informed buyers from those who discover compatibility issues mid-project. Let's decode the numbers and letters that determine whether your screen aluminium frame will perform as expected.
When you see designations like 6063-T5 or 6061-T6, you're looking at a precise language describing the aluminum's composition and heat treatment. The first four digits identify the alloy family and specific formulation, while the suffix indicates the temper—or strengthening process—applied after extrusion.
6063 Aluminum Alloy: This alloy dominates architectural and screen framing applications for good reason. According to YUH-FIELD's technical analysis, aluminum 6063 is prized for its superior extrusion properties, making it ideal for creating complex cross-sectional profiles. The magnesium and silicon content allows intricate shapes—including integrated spline channels and mounting features—to form cleanly during extrusion.
6061 Aluminum Alloy: This stronger alternative finds use in structural applications requiring maximum load capacity. It offers excellent corrosion resistance and, with T6 heat treatment, achieves strength comparable to SS41 steel with endurance exceeding 25 kg/mm². However, this strength comes with trade-offs in extrudability and surface finish quality.
So which should you choose for your aluminum screen frame? For most screen room applications, 6063 provides the optimal balance. Its easier extrusion characteristics mean complex profiles emerge with smoother surfaces and tighter tolerances—critical for screen framing where components must fit together precisely.
The T5 and T6 suffixes describe heat treatment processes that dramatically impact the finished profile's hardness and strength. Understanding this distinction helps you match your screen frame material to project demands.
According to Engineering Express, the heat treatment process involves raising the alloy temperature to about 980°F, holding it to dissolve alloying elements into solution, then quenching in water. Subsequent aging at 325-400°F creates ordered atomic structures called GP zones that strengthen the aluminum considerably.
T5 Temper: Material is cooled from extrusion temperature and artificially aged. This produces the softest option with hardness ratings around WB10-14, but offers the easiest extrudability and lowest cost.
T6 Temper: Material undergoes full solution heat treatment by artificial aging. According to YUH-FIELD's comparison data, 6063-T6 achieves hardness ratings of WB12-15—noticeably harder than T5 while maintaining reasonable workability.
Why does 6063-T5 remain the standard for aluminium screen frame applications? When working with hollow shapes or intricate screen framing designs, insisting on T6 treatment can lead to deformation due to increased difficulty during extrusion. For most residential screen rooms, T5 provides sufficient hardness while ensuring dimensional accuracy and smooth surface finishes.
Beyond alloy selection, wall thickness directly determines your extrusion's structural capacity. According to Silver City Aluminum's design guidelines, uniform wall thickness produces the quickest, easiest extrusions because aluminum flows at an even rate through the die.
Unequal wall thicknesses create problems: aluminum flows faster through wider sections and slower through thin areas. This can produce finished profiles prone to twisting or bending—defects that become apparent only during installation when components refuse to align properly.
When evaluating aluminum screen frame options, verify these critical specifications:
YUH-FIELD's testing demonstrates that optimized 6063-T5 can achieve impressive performance: tensile strength of 217 MPa, yield strength of 191 MPa, and hardness of 78Hv—exceeding typical specifications while maintaining extrusion quality.
Armed with this technical knowledge, you can evaluate screen framing suppliers based on verifiable specifications rather than marketing claims. The next consideration—how these extrusion profiles integrate with screen retention systems—determines whether your carefully selected components will actually hold your screening material securely for years to come.
You've selected the right alloy and profile dimensions for your screen room aluminum extrusion—but here's a question most suppliers never address: how does your screening material actually stay in place? The relationship between extrusion profiles and screen retention systems determines whether your aluminum porch screen remains taut and secure or sags and pulls loose within months.
Understanding this connection transforms your perspective from viewing components as separate purchases to seeing them as an integrated system. Let's explore how screen channels, splines, and mesh types work together.
Every screen room extrusion designed for holding mesh includes a groove—called a spline channel—machined into the profile's face. This channel receives a flexible strip that locks your screening material firmly in place. But not all channels and splines are created equal.
According to Window Hardware Direct's comprehensive guide, several spline types serve different applications:
When selecting a porch screen frame, measuring your spline channel's width and depth is essential. The spline diameter must match your groove dimensions precisely—too small and the screen loosens over time; too large and installation becomes impossible without damaging the mesh.
For those purchasing a screen frame kit for porch applications, verify that included spline material matches both your channel dimensions and your chosen mesh thickness. Different screen materials have varying thicknesses, and the spline must accommodate both the channel and the fabric for a secure fit.
Ever noticed those numbers like "17/14" or "20/20" when shopping for screen mesh? These designations describe mesh count—the number of horizontal and vertical strands per square inch. According to Metro Screenworks' technical guide, these specifications directly impact insect protection, visibility, and which extrusion profiles work best.
Here's what those numbers mean practically:
Wire diameter adds another variable. Thinner wires like those in UltraVue screens maximize visibility but sacrifice durability. Thicker wires in pet-resistant screens handle abuse but create more visual obstruction. Your aluminum and screening combination must account for these trade-offs.
| Mesh Type | Mesh Count | Spline Type Required | Profile Channel Depth | Best Applications |
|---|---|---|---|---|
| Standard Fiberglass | 17x14 | Round (0.140" - 0.160") | Standard (3/16") | General residential screen rooms, moderate insect pressure |
| No-See-Um | 20x20 | Round or Foam (0.125" - 0.140") | Standard (3/16") | Coastal areas, wetlands, anywhere tiny insects are problematic |
| Pet Resistant | 17x14 (heavy gauge) | Bulb or Heavy Round (0.175" - 0.190") | Deep (1/4") | Homes with dogs or cats that contact screens |
| Solar Screen | 20x30 | Bulb (0.160" - 0.175") | Standard to Deep | Sun-facing exposures requiring heat and UV reduction |
| Bronze/Copper | 17x14 | Round (0.140" - 0.160") | Standard (3/16") | Decorative applications, upscale porch enclosures |
The bottom portion of any screen room system faces unique challenges. Foot traffic, pet activity, lawn equipment contact, and moisture accumulation all concentrate at floor level. This is where aluminum screen porch kick plate components become essential.
A kick plate—typically a solid aluminum panel spanning the bottom 12 to 24 inches of each screen bay—serves multiple functions. It protects vulnerable screen mesh from damage, prevents insects from entering at ground level where gaps commonly occur, and provides a solid surface for attaching structural bracing.
When integrating kick plates with your screen channel system, consider these factors:
The transition between kick plate and screen mesh requires careful attention. Quality extrusion systems include specialized transition rails that create weather-tight connections while maintaining clean visual lines. This integration point often separates professional-grade systems from economy alternatives.
With screen retention methods and mesh compatibility understood, you're ready to examine the complete component system—how vertical posts, horizontal rails, connectors, and hardware work together to create your finished screen room structure.
Now that you understand how screen retention works, here's a question that trips up many first-time builders: what exactly do you need to purchase for a complete screen room aluminum extrusion system? Most suppliers hand you a product catalog without explaining how everything connects—leaving you guessing which components work together and which are optional.
Think of your screen room like a puzzle where every piece has a specific function and connection point. Missing one component doesn't just create a gap—it can compromise the entire structure's integrity. Let's walk through the essential parts in the order you'll actually assemble them.
A functional screen porch frame kit includes far more than just aluminum profiles. Understanding each component's role helps you verify you have everything before starting installation—and explains why quality aluminum screen frames cost more than bare-bones alternatives.
When shopping for screen porch supplies, expect these core categories:
According to Screen House's component specifications, complete DIY kits include everything "internal" to the installation—all screws, mullion clips, spline, screening, and weather-stripping required for your application. This integrated approach ensures compatibility between aluminum screen enclosure parts.
Here's what separates professional-quality screen enclosure materials from bargain alternatives: engineered connection systems. Each component is designed to interface with adjacent parts through specific attachment methods that maintain structural integrity while allowing for thermal expansion and field adjustments.
The assembly sequence follows a logical progression from foundation to finish:
Notice how each step builds on the previous one? This integrated approach means you can't skip ahead—attempting to install screening before completing the structural frame creates alignment problems that compound throughout the project.
The supplied hardware deserves special attention. According to Screen House's specifications, all connection hardware is extruded aluminum—not stamped steel or plastic—for maximum strength and weather resistance. This detail matters because steel fasteners in contact with aluminum create galvanic corrosion, while plastic components become brittle under UV exposure.
Key hardware components in quality aluminum screen framing systems include:
When evaluating potential suppliers, ask specifically about their aluminum screen frames' connection systems. Competitors who list products without explaining integration points often supply generic hardware that doesn't interface properly with their profiles—leading to frustrating field modifications and compromised structural performance.
With your complete component list understood and assembly sequence mapped out, the next critical step is learning the practical techniques for measuring, cutting, and joining these extrusions during actual installation.
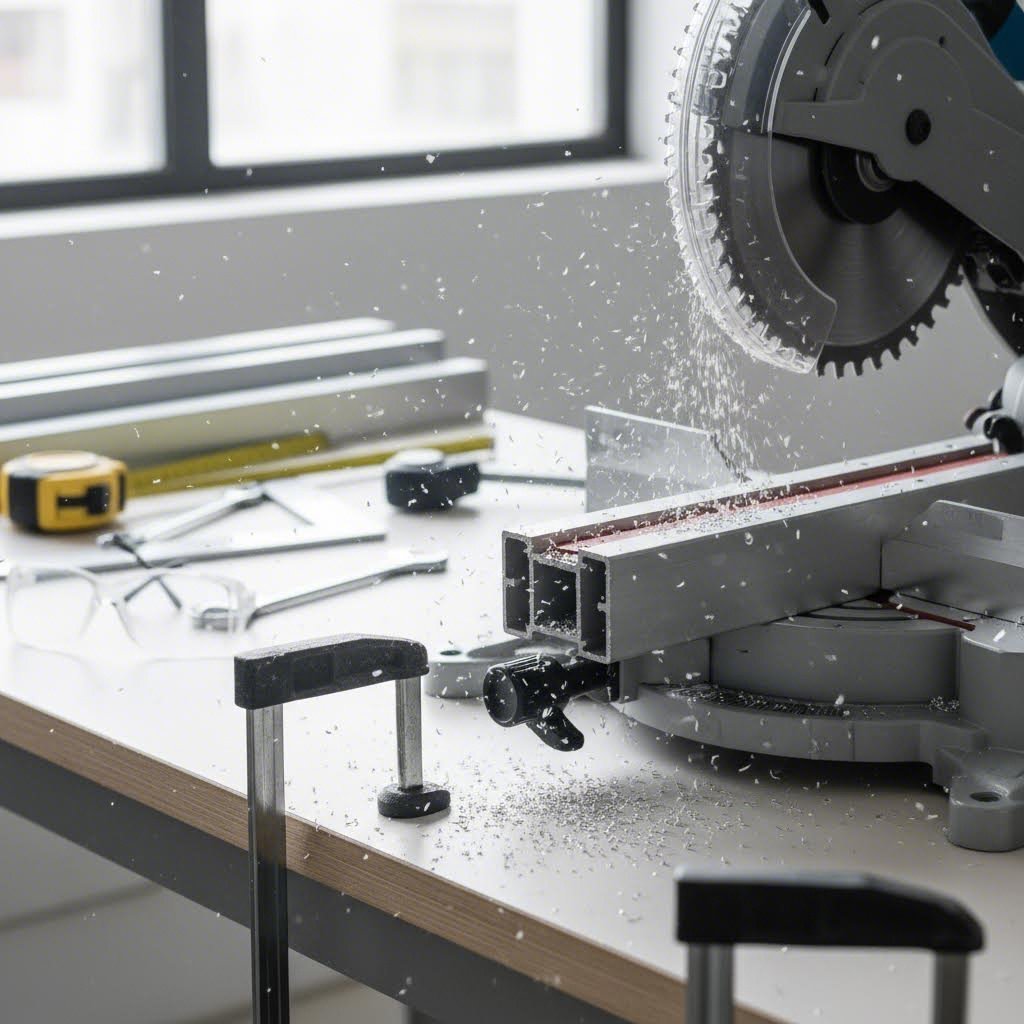
You've got your components selected and your assembly sequence mapped out—but here's where many DIY projects go sideways: the actual hands-on work of measuring, cutting, and joining screen room aluminum extrusion. This practical knowledge is surprisingly absent from most supplier content, leaving homeowners to figure it out through costly trial and error.
Whether you're framing screen porch bays yourself or supervising a contractor, understanding these techniques helps you recognize quality workmanship and avoid the mistakes that plague amateur installations. Let's walk through the process step by step.
Accurate measurement is the foundation of any successful aluminum screen porch framing project. Sounds obvious? Yet measurement errors remain the number one cause of wasted materials and frustrating rework. Here's how to get it right the first time.
Start by measuring your existing structure—the floor surface, roof line, and any walls you'll attach to. Take each measurement at least twice, and if the numbers differ, measure a third time. For framing a screened in porch on an existing deck or patio, check for square by measuring diagonals. If your space measures 10 feet by 12 feet, both diagonal measurements should equal approximately 15 feet 7 inches. Differences greater than 1/4 inch indicate an out-of-square condition you'll need to accommodate.
When planning how to screen in a porch with aluminum frame system, consider these measurement principles:
According to installation guidance from MyUBI's DIY screen tutorial, even small measurement errors can result in the screen frame not fitting properly. Double-checking measurements before making any cuts saves both materials and frustration.
Before you make your first cut, gather the right equipment. Quality tools make the difference between clean, professional results and ragged edges that refuse to fit together properly. Here's your checklist:
For those exploring how to build an enclosure with extruded aluminum frame, investing in a quality miter saw pays dividends across the entire project. According to Tuli's cutting guide, the right cutting setup and tool selection directly impact your results—there's no substitute for proper equipment.
Here's where technique matters as much as tools. Cutting aluminum extrusion isn't difficult, but getting it wrong means crooked cuts, sharp edges, and pieces that refuse to line up no matter how much you adjust them.
Cutting Best Practices:
Set your miter saw blade to the correct angle—90 degrees for most cuts, 45 degrees for mitered corners. Clamp your extrusion securely to the saw fence; aluminum profiles can grab and spin if not properly restrained. Let the blade reach full speed before beginning your cut, then feed steadily through the material without forcing.
For repeatable accuracy when cutting multiple pieces to identical lengths, use a stop block clamped to your work surface. This simple technique saves time and ensures consistency—especially valuable when cutting the numerous horizontal rails in a typical screen frame for porch installation.
After cutting, inspect each piece for burrs along the cut edge. Use a deburring tool or fine file to remove any sharp edges that could interfere with connections or cause injury during handling. Quality aluminum extrusion frame kits often arrive pre-cut to your specifications, eliminating this step entirely—a significant advantage for DIY installers.
Joining Methods That Last:
Connecting aluminum extrusions requires understanding several methods, each suited to different joint types. According to GAP Engineering's connection guide, choosing the right connection method for your application is crucial.
The most common joining approaches for screen room applications include:
For most screen room installations, internal corner brackets combined with self-drilling screws provide the optimal balance of strength, adjustability, and ease of installation. The brackets slide into the extrusion channels, and screws secure the joint without requiring pre-drilled holes.
Even experienced builders encounter pitfalls when working with aluminum extrusions for the first time. Here are the mistakes that derail projects most frequently:
Mistake #1: Cutting without clamping. Aluminum extrusions can grab saw blades and spin dangerously. Always secure your workpiece firmly before cutting—no exceptions.
Mistake #2: Using wrong blade type. Wood-cutting blades tear aluminum rather than cutting cleanly. Invest in a non-ferrous metal blade with high tooth count for professional results.
Mistake #3: Ignoring thermal expansion. Screen rooms installed on hot summer days will contract in winter, potentially pulling joints apart. Leave small gaps at connection points and avoid over-tightening fasteners that prevent natural movement.
Mistake #4: Skipping the deburring step. Sharp cut edges slice fingers, prevent tight fits, and look unprofessional. Take the extra minute to clean up every cut.
Mistake #5: Single-bracket corners under load. As GAP Engineering notes, rotational loads challenge single-bracket connections. Use multiple brackets or through-connections where structural integrity matters most.
By understanding these principles before starting your project, you'll join the ranks of successful DIY installers who complete their screen frame for porch projects on time and on budget. The techniques that apply to cutting and joining also influence your finishing options—the surface treatments that protect your aluminum investment and enhance its appearance for years to come.
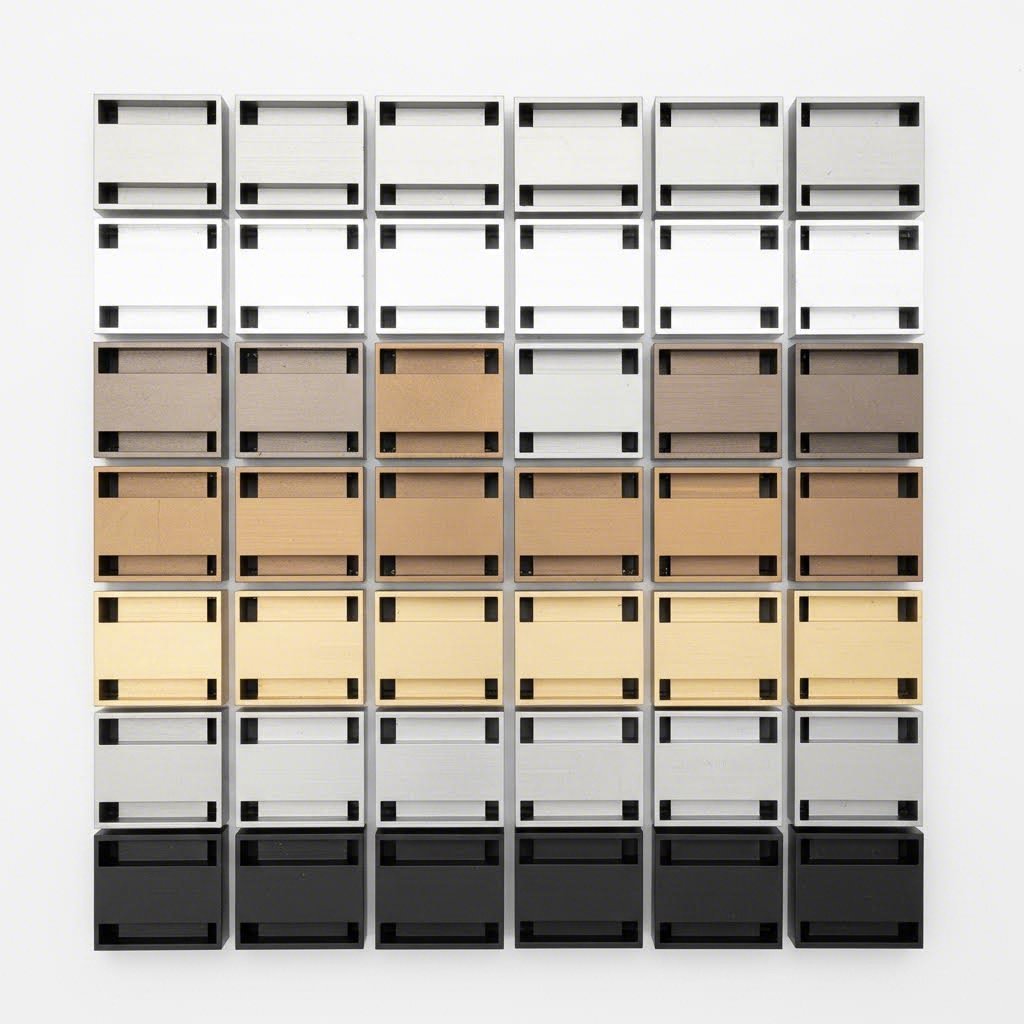
You've selected your alloy, chosen your profile dimensions, and mastered the cutting and joining techniques—but here's a detail that determines how your screen room aluminum extrusion will look and perform a decade from now: surface treatment. The raw aluminum emerging from extrusion presses needs protection to reach its full potential in outdoor environments.
Ever noticed how some aluminum screen enclosures maintain their crisp appearance for years while others show chalking, fading, or corrosion within seasons? The difference lies almost entirely in their surface finish. Let's explore your options and what each means for long-term performance.
When evaluating finishes for aluminum screen rooms, two options dominate the conversation: anodizing and powder coating. Each offers distinct advantages depending on your priorities—and understanding their differences helps you make the right choice for your climate and aesthetic goals.
How Anodizing Works:
Anodizing isn't a coating applied to aluminum—it's a transformation of the aluminum itself. According to MetalsCut4U's technical analysis, the process involves immersing aluminum in an electrolytic bath and applying electrical current. This causes the metal surface to oxidize, creating a thickened protective layer that integrates with the base material rather than sitting on top of it.
This distinction matters enormously. Because the anodized layer is part of the aluminum itself, it cannot peel, flake, or separate from the substrate. The result is exceptional wear resistance, scratch resistance, and corrosion protection that lasts decades with minimal maintenance.
How Powder Coating Works:
Powder coating takes a different approach. A dry powder—typically thermoplastic or thermoset polymer—is electrostatically applied to prepared aluminum surfaces. The coated component then enters a curing oven at approximately 400°F, where the powder melts and forms a continuous protective film.
This process creates thicker protective layers than anodizing and offers remarkable versatility in colors and textures. However, as a surface coating rather than an integral layer, powder coating can chip or scratch if impacted—though quality applications resist normal wear exceptionally well.
For quality screen and aluminum systems destined for outdoor use, both finishes offer legitimate advantages:
Beyond standard powder coating, PVDF (polyvinylidene fluoride)—commonly known by the trade name Kynar—represents the premium tier of aluminum finishing. According to Master Craft Finishers' architectural analysis, PVDF has been a cornerstone of aluminum coating since 1965, with over half a century of proven durability in demanding applications.
What makes PVDF special? The chemistry delivers exceptional color and UV stability under prolonged sun exposure. While standard powder coatings may show gradual fading over years of outdoor service, quality PVDF finishes maintain their original appearance far longer. Many major manufacturers offer 20-year warranties backed by historical performance data.
However, PVDF comes with trade-offs. The application process requires licensed applicators and proper pretreatment with primer. Curing temperatures reach 450°F—higher than standard powder coating—which can be problematic for certain substrates. The cost typically exceeds powder coating, though the extended lifespan often justifies the investment for aluminum for screen enclosures in harsh climates.
Choosing your finish color involves more than matching your home's exterior. Different finishes offer different color capabilities—and your selection impacts both immediate appearance and long-term maintenance.
Anodizing Color Options:
Traditional anodizing produces that distinctive metallic appearance that highlights aluminum's natural beauty. Standard colors include clear (natural aluminum), champagne, bronze, and black. Custom anodizing processes can achieve additional shades including rose gold and specialty tints.
The metallic quality of anodized finishes cannot be replicated by paint or powder. For those wanting a sophisticated, industrial-elegant aesthetic on their aluminum screen enclosure, anodizing delivers appearances that other methods simply cannot match.
Powder Coating Color Options:
Here's where powder coating shines—literally. The process accommodates virtually any color imaginable, from standard white screen porch frames to bold custom hues. Finishes range from matte to high gloss, with textured options adding another dimension of design flexibility.
According to MetalsCut4U's comparison, powder coatings are highly resistant to color fading even with prolonged UV exposure. This makes them excellent choices for sun-facing installations where maintaining consistent appearance matters.
Established manufacturers like Shengxin Aluminium offer comprehensive surface treatment options including custom anodizing colors and PVDF coatings. Their deep processing capabilities ensure consistent finish quality across large orders—critical when you need dozens or hundreds of matching profiles for commercial aluminum screen rooms or multi-unit residential projects.
Use this comparison to match surface treatment options to your specific requirements:
| Finish Type | Durability Rating | Color Options | Maintenance Requirements | Best Applications |
|---|---|---|---|---|
| Clear Anodizing | Excellent (25+ years) | Natural metallic silver | Occasional cleaning; no recoating needed | Modern aesthetic, commercial installations |
| Color Anodizing | Excellent (20+ years) | Bronze, champagne, black, custom metallics | Occasional cleaning; UV-stable colors | Architectural applications, upscale residential |
| Standard Powder Coating | Very Good (15-20 years) | Unlimited colors and textures | Annual cleaning; touch-up for chips | Residential screen rooms, budget-conscious projects |
| AAMA 2605 Powder Coating | Excellent (20-30 years) | Wide range with enhanced stability | Occasional cleaning; warranted performance | Coastal environments, high-exposure installations |
| PVDF/Kynar | Superior (25+ years) | Extensive palette, lower maximum gloss | Minimal cleaning; excellent touch-up capability | Premium projects, extreme weather exposure |
Beyond aesthetics and durability, finish selection involves practical factors that impact your project and the environment. According to Master Craft Finishers' analysis, powder coatings have low to no volatile organic compound (VOC) emissions, aligning with sustainability goals. This makes them increasingly preferred in environmentally-conscious specifications.
Repairability differs significantly between options. PVDF paints allow easier touch-ups for damaged surfaces, while powder-coated parts prove more challenging to repair seamlessly. For aluminum screen enclosures in high-traffic areas where occasional damage is likely, this distinction may influence your choice.
Cost varies predictably with performance. Anodizing typically runs $150 to $500 depending on part size and finish complexity, while powder coating ranges from $50 to $300 for standard items. PVDF falls at the premium end but delivers corresponding longevity.
With surface treatment options understood, your final consideration becomes selecting the right supplier—one who can deliver the extrusion series, alloy specifications, and finish quality your project demands while supporting you through the selection and installation process.
You've absorbed the technical details—alloy designations, profile dimensions, finish options, and installation techniques. Now comes the decision that ties everything together: selecting the right screen room aluminum extrusion system for your specific situation. This isn't about finding the "best" system in absolute terms—it's about matching capabilities to your unique project requirements.
Think of it like choosing a vehicle. A compact car might be perfect for city commuting but inadequate for hauling construction materials. Similarly, the extrusion system ideal for a modest backyard screen room differs significantly from what a coastal lanai screen enclosure demands. Let's build a framework for making this decision confidently.
Before contacting suppliers or comparing products, take time to honestly assess what your project actually requires. This self-evaluation prevents both over-buying expensive systems you don't need and under-specifying components that won't perform adequately.
Project Scale Considerations:
The size of your planned aluminum screen room directly influences which extrusion series and profile dimensions you'll need. A 10x12 foot porch enclosure with 8-foot ceilings falls comfortably within 100 Series capabilities using standard 2x2 profiles. However, a 20x30 foot pool cage with 12-foot clearance pushes into 200 Series territory with heavier wall thicknesses and potentially 2x4 or 4x4 structural members.
Consider these scale factors:
Climate and Environmental Factors:
Where you live dramatically impacts which screen room materials perform best. According to Titan Sunrooms' planning guide, you can't just put a price tag on your dream home project without considering practical environmental factors that affect long-term value.
Coastal installations face salt spray that accelerates corrosion—making anodized finishes or marine-grade powder coatings essential rather than optional. High-wind zones along the Gulf Coast or in hurricane-prone regions require aluminum screen enclosure kits engineered for elevated wind speeds, often with structural certifications from licensed engineers.
Even regional humidity levels matter. In consistently wet climates, drainage-integrated bottom rails and corrosion-resistant hardware become priorities. Desert installations may prioritize UV-stable finishes and thermal expansion allowances for extreme temperature swings.
Budget Realities:
Here's an honest truth: screen porch systems aluminum vary enormously in cost, and the cheapest option rarely delivers the best value. However, overspending on capabilities you'll never need wastes resources that could enhance other aspects of your project.
When establishing your budget, consider total cost of ownership rather than just purchase price. That bargain extrusion kit with thin walls and basic powder coating may cost half as much initially—but require replacement in 10 years while quality components last 30 or more. The finish that costs extra upfront but carries a 20-year warranty often proves cheaper over the project's lifespan.
DIY Versus Professional Installation:
Be realistic about your skill level and available time. Aluminum screen porch kits designed for DIY installation include detailed instructions, pre-cut components, and simplified connection systems. These convenience features add cost but dramatically reduce installation complexity.
Professional contractors can work with raw extrusions—cutting, fitting, and finishing on-site—often achieving lower material costs but adding significant labor expenses. For complex projects, unusual configurations, or when local codes require permitted construction, professional installation typically makes sense despite higher total costs.
With your requirements defined, you're ready to evaluate potential suppliers. Not all providers offer the same capabilities, quality levels, or support—and these differences matter enormously when problems arise mid-project.
According to Orange Aluminum's supplier evaluation guide, choosing the right aluminum extrusion provider is crucial to ensure high-quality products and a seamless production process. Experience, customization capabilities, and customer support all factor into successful partnerships.
Experience and Track Record:
Look for providers with demonstrated expertise specifically in screen room applications—not just general aluminum extrusion. Manufacturers with extensive experience (30+ years) and comprehensive capabilities—from die development through mass production—like Shengxin Aluminium provide end-to-end support that simplifies complex projects. Their range of 35 extrusion presses (600T to 5500T) enables both standard and custom profile production, ensuring they can handle whatever your project demands.
Established suppliers have refined their processes, encountered and solved countless problems, and developed the institutional knowledge that prevents issues before they occur. As Orange Aluminum notes, experienced providers "possess comprehensive knowledge of the extrusion process, have refined their techniques, and can offer valuable insights to optimize your designs."
Customization and Technical Support:
Every project has unique requirements. According to Hydro Extrusion's capabilities overview, quality suppliers offer "enormous competencies for design and application assistance" beyond simply shipping standard products.
Can the supplier modify profiles to meet your specific needs? Do they offer custom die development for truly unique applications? Will their engineering team review your project plans and recommend appropriate specifications? These support capabilities separate commodity suppliers from true partners in your project's success.
Quality Indicators to Verify:
Before committing to a supplier, verify their quality systems. Hydro's manufacturing approach includes testing all dies before extrusion begins and regularly checking shape and dimensions during production, with "all the relevant parameters recorded to ensure product uniformity."
Ask about material certifications, alloy traceability, and finish warranties. Request samples if possible—the feel and appearance of physical profiles reveals quality levels that specifications alone cannot convey.
When evaluating aluminum frame suppliers for your project, use these questions to assess their capabilities and fit:
Taking time to thoroughly evaluate suppliers prevents costly mid-project surprises. The supplier relationship often extends beyond initial purchase through technical questions, warranty claims, and future expansions—making the right choice a foundation for long-term success.
With project requirements assessed and supplier capabilities evaluated, your decision framework is complete. The right aluminum screen room system matches your scale requirements, addresses your climate challenges, fits your budget realistically, and comes from a supplier capable of supporting your success.
Remember that this investment protects and enhances your outdoor living space for decades. Quality screen room materials from reputable suppliers deliver value far exceeding their incremental cost over bargain alternatives. Whether you're creating a simple screened porch retreat or an elaborate lanai screen enclosure, the principles covered throughout this guide—from alloy selection to surface treatment to supplier evaluation—equip you to make confident, informed decisions.
Your screen room project represents both a financial investment and an investment in your family's quality of life. By understanding screen room aluminum extrusion at this depth, you're positioned to create an outdoor living space that performs beautifully and lasts for generations.
The series designation refers to wall thickness and structural capacity. 100 Series extrusions feature lighter walls (0.050" to 0.062") suitable for residential screen rooms with spans under 10 feet in low-wind zones. 200 Series extrusions have heavier walls (0.062" to 0.090"+) for larger enclosures, coastal installations, or areas with elevated wind requirements. The 200 Series allows longer unsupported spans and handles greater structural loads.
Profile selection depends on your project's span distances and load requirements. 1x2 profiles work for light-duty rails and small openings up to 6 feet. 2x2 aluminum screen framing is the residential standard, handling spans up to 8-10 feet depending on series. For longer horizontal spans or taller enclosures, 2x4 profiles oriented vertically provide significantly greater bending resistance, while 4x4 profiles suit corner posts for large pool enclosures.
Properly installed aluminum screen enclosures can last 30+ years with minimal maintenance. Aluminum naturally forms a protective oxide layer that resists corrosion. When combined with quality surface treatments like anodizing (25+ years durability) or PVDF coatings (20-30 year warranties), aluminum framing significantly outlasts wood or vinyl alternatives that require regular sealing, painting, or replacement due to rot and UV degradation.
6063-T5 aluminum alloy is the industry standard for screen room construction. Its magnesium and silicon content allows intricate profile shapes with integrated spline channels to extrude cleanly with smooth surfaces. For applications requiring maximum strength, 6061-T6 offers higher load capacity but with trade-offs in extrudability and surface finish. Most residential screen rooms perform excellently with 6063-T5.
Yes, aluminum screen porch kits designed for DIY installation include pre-cut components, detailed instructions, and simplified connection systems. Essential tools include a miter saw with aluminum-rated blade, tape measure, combination square, drill/driver, and safety equipment. Key tips: always clamp extrusions before cutting, use stop blocks for consistent lengths, deburr all cuts, and account for thermal expansion at connections. Manufacturers like Shengxin Aluminium offer comprehensive kits with end-to-end support.



 dịch vụ trực tuyến
 0086 136 3563 2360
 sales@sxalu.com
 +86 136 3563 2360
 Việt
Việt English
 français
 Deutsch
 русский
 español
 português
 العربية
 ไทย
ไทย Українська