Ever noticed how aluminum surfaces lose their shine over time, turning dull or even chalky? That’s where aluminum brighteners come into play. These are specialized chemical solutions designed to remove oxidation, stains, and discoloration from aluminum, restoring a like-new finish. Whether you’re caring for boat pontoons, semi-truck tanks, or decorative trim, choosing the right aluminum brightener is the first step to achieving a professional-grade result.
Sounds complex? It doesn’t have to be. The main goal is simple: use a cleaner that tackles the specific type of grime or oxidation your aluminum has picked up. The best aluminum brightener will break down tough surface contaminants and help you maintain that brilliant, reflective look.
When you start shopping for cleaners for aluminum, you’ll notice two main categories: acid-based and non-acidic brighteners. Each has distinct strengths and ideal use cases, so understanding the difference is key to getting the results you want—and to protecting your surfaces.
| Feature | Acid-Based Brightener | Non-Acidic Brightener |
|---|---|---|
| Effectiveness on Heavy Oxidation | Excellent – breaks down tough oxidation and stains quickly. Often uses hydrofluoric acid (HF) or ammonium bifluoride (ABF) as the acid to clean aluminum. | Good for light to moderate oxidation; may require multiple applications for severe cases. |
| Safety Level | Low – requires strict safety precautions, including gloves and goggles. Improper use can damage surfaces or pose health risks. | Higher – generally safer for users and surfaces, but still requires basic protective gear. |
| Surface Compatibility | Best for non-polished, raw, or heavily oxidized aluminum. Can damage polished or anodized finishes if not used carefully. | Safe for most aluminum types, including polished and anodized. Always test a small area first. |
| Typical Use Cases | Fleet vehicles, semi-trucks, pontoons, and equipment with severe oxidation or staining. | Routine maintenance, decorative trim, wheels, and surfaces needing gentle cleaning. |
For example, if you’re dealing with a semi-truck that’s seen years of road grime, an acid-based solution like those containing hydrofluoric acid (a powerful acid that cleans aluminum) will give you fast, dramatic results. However, for regular upkeep or sensitive finishes, a non-acidic aluminium brightener is a safer bet. Imagine using alumi clean on decorative trim—gentle but effective, with less risk of damaging the surface.
It’s important to note that while acid-based options are often considered the best aluminum brightener for heavy-duty restoration, they require careful handling and proper dilution. Non-acidic cleaners, on the other hand, are ideal for those seeking a balance between cleaning power and safety.
So, how do you choose? Start by assessing the level of oxidation, the finish type, and your comfort with handling chemicals. When in doubt, always consult the manufacturer’s instructions and test on a small area first. This approach helps ensure you get the best results from your aluminum brightener, without unwanted surprises.
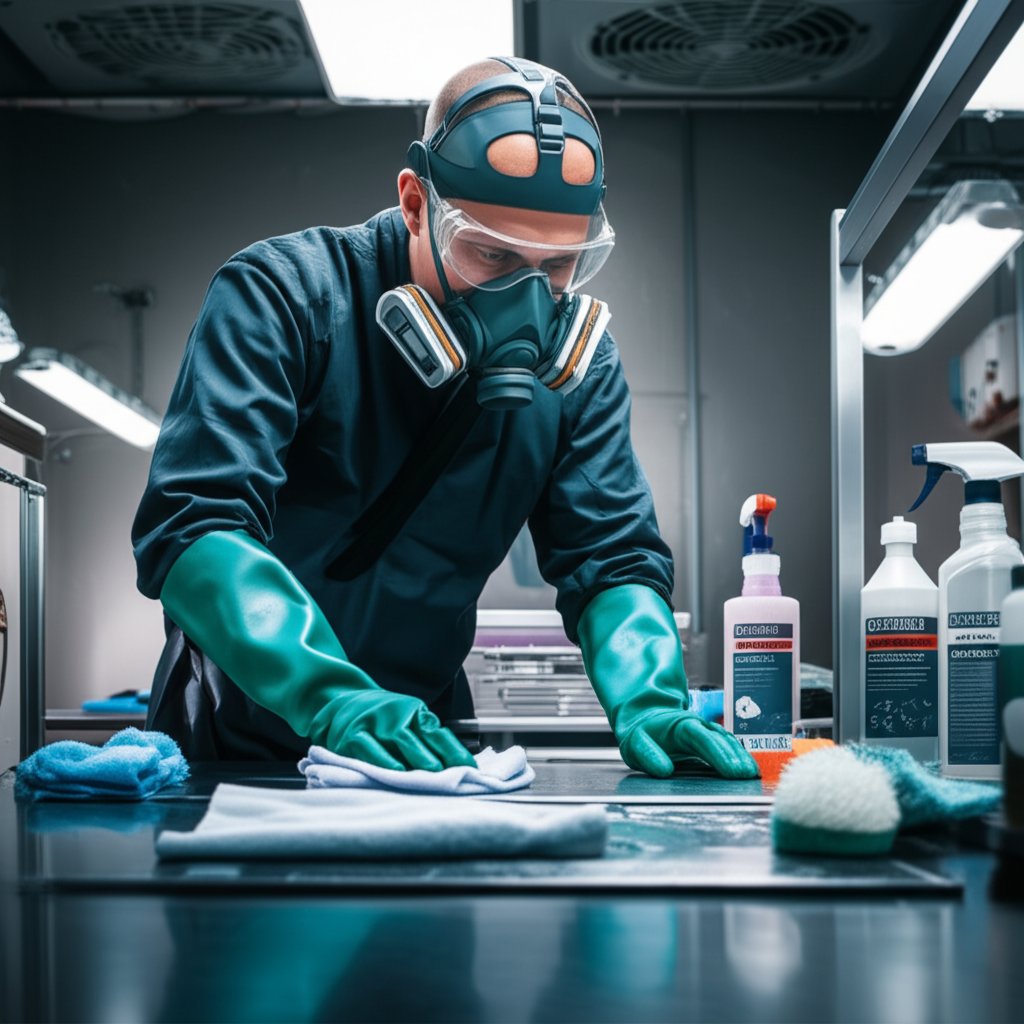
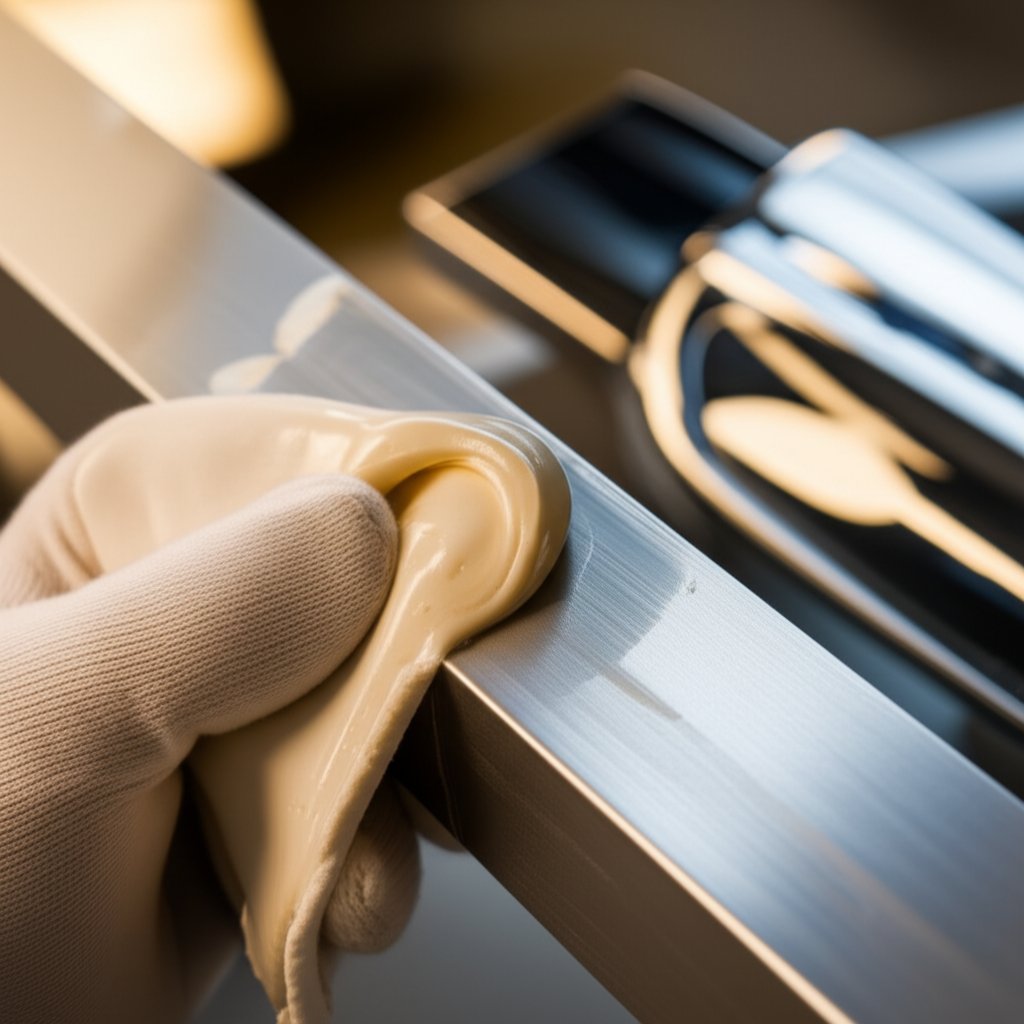
When you’re preparing to use an aluminum cleaner acid—especially an acid cleaner for aluminum—safety isn’t just a good idea, it’s essential. Imagine opening a bottle of a powerful acid aluminum cleaner like those used in industrial or heavy-duty settings. Even a small splash can cause severe burns, breathing difficulties, or eye injuries. That’s why every pro-level shine starts with the right protective gear.
Before each use, inspect your PPE for any signs of wear or damage. Replace any compromised gear immediately to ensure maximum protection. This is especially important when handling strong aluminum cleaner acid solutions or commercial products like napa aluminum brightener, which are formulated for aggressive cleaning.
Picture this: You’re ready to restore a dull aluminum trailer, but your workspace is cluttered and poorly ventilated. That’s a recipe for trouble. Safe application of acid aluminum cleaner starts with a well-organized, well-ventilated area. Here’s how you can set yourself up for success:
It’s also wise to review the product’s Safety Data Sheet (SDS) before you start. This document provides crucial information on hazards, handling, and emergency procedures for your chosen aluminum cleaner.
Even with the best precautions, accidents can happen. If you or someone else comes into contact with an acid cleaner for aluminum, immediate action is critical. Here’s what you should do:
Always call emergency services in the event of a serious burn or if symptoms persist. For more detailed first-aid guidance, consult resources like the NHS guide on acid and chemical burns.
By making safety your top priority—using the right PPE, preparing your workspace, and knowing emergency procedures—you’ll ensure every aluminum cleaning project starts and ends on a safe note. Next, let’s look at how to prepare your aluminum surface for optimal brightening results.
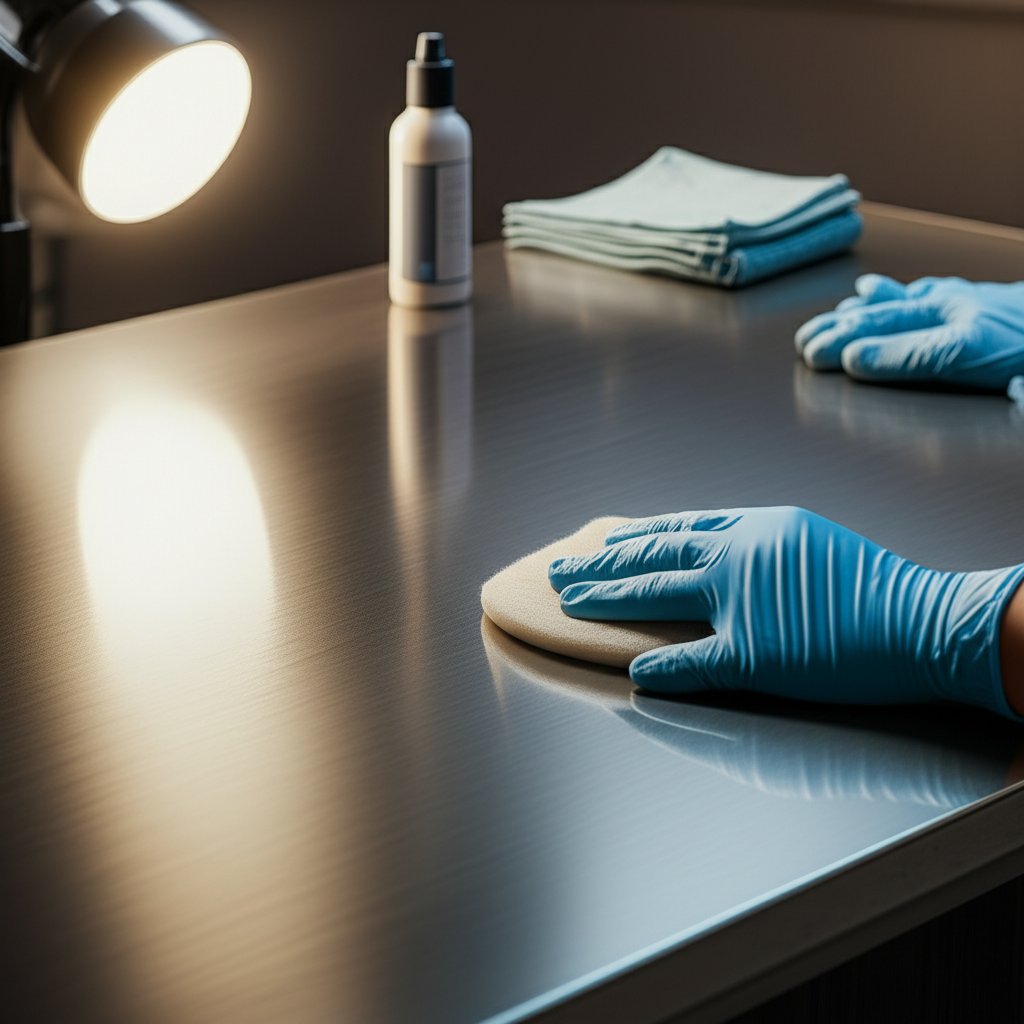
Ever wonder why a professional-grade aluminum shine sometimes falls flat? The answer is often in the prep work. Imagine trying to paint over a dusty wall—the results just won’t last. The same goes for aluminum brightening: if you skip cleaning, even the best aluminum brightener or alu cleaner can’t deliver uniform results. Dirt, grease, and oxidation block the chemical reaction needed to restore that signature gleam. So, before reaching for your favorite aluminum cleaning products, it’s critical to start with a spotless surface.
When you properly prepare the metal, you’ll notice the brightener works faster, more evenly, and with less risk of streaking or patchiness. This isn’t just about looks; thorough cleaning helps prevent future corrosion and extends the life of your finish. Whether you’re using aluma bright, alumabrite, or any other aluminium cleaning solution, surface prep is your ticket to a pro-level shine.
So, how do you get your aluminum ready for treatment? Here’s a proven step-by-step process, drawing on industry best practices and expert advice [source]:
Wondering about the right cleaning agents? For light grime, a mild dish soap solution works well. For more stubborn buildup, opt for a dedicated aluminium cleaning solution or a reputable degreaser designed for metals. Products like aluma bright and alumabrite are formulated to break down tough contaminants without damaging the underlying metal—just be sure to follow the manufacturer’s instructions on contact time and dilution.
Remember, the goal is to create a clean, residue-free surface that’s ready to react with your chosen aluminum brightener. A little extra effort at this stage sets the foundation for a flawless, mirror-like finish. Now that your aluminum is clean and prepped, you’re ready for the next critical step: mixing and diluting your brightener for safe, effective application.
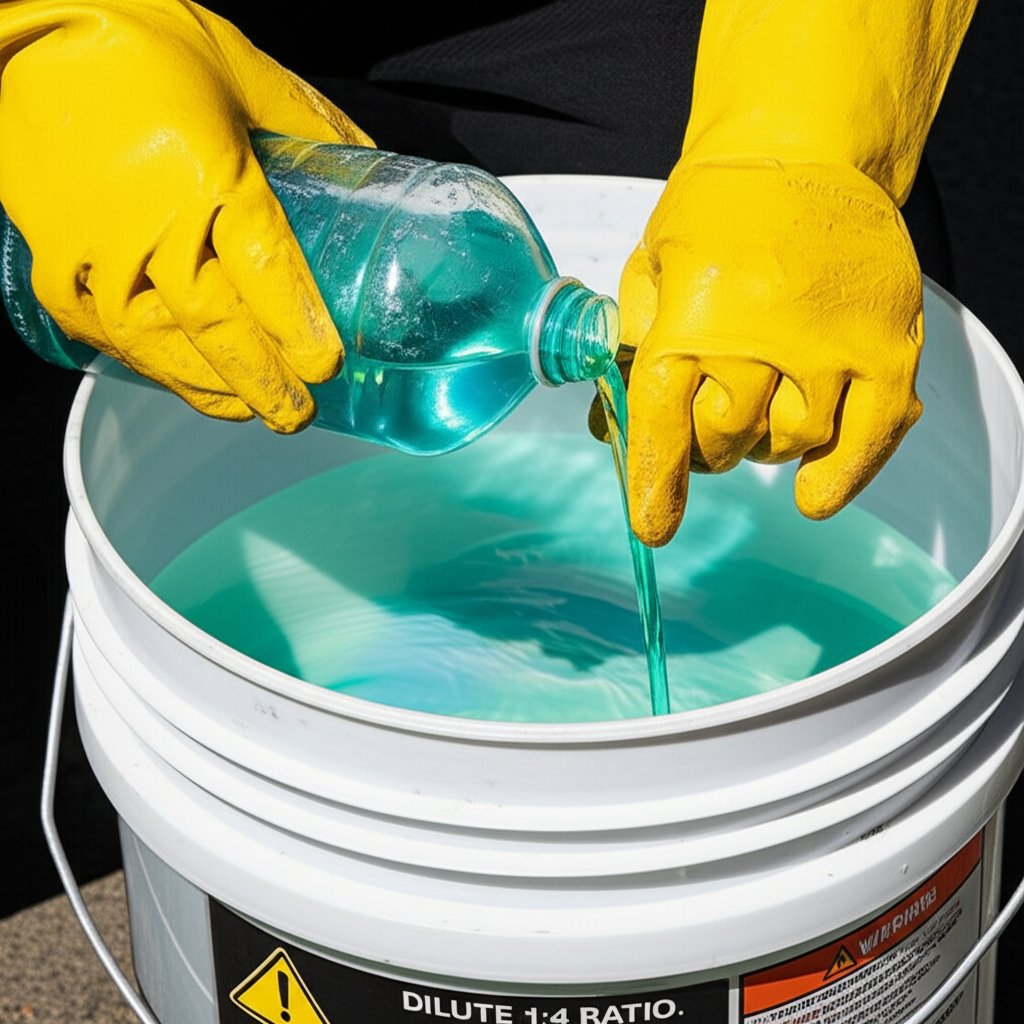
Ever wondered why some aluminum acid wash jobs leave surfaces looking streaky, dull, or even pitted? The answer often lies in how the aluminum brightener cleaner was mixed. Concentrated formulas like purple power aluminum brightener or aluma brite are powerful, but only if used at the right strength. Diluting these products correctly is crucial—not just for results, but also for protecting your aluminum from irreversible damage.
Sounds tricky? It’s actually straightforward when you follow the manufacturer’s dilution chart. For example, according to industry guidance, here’s how you might approach dilution for different cleaning needs:
Using too strong a solution can dry out the aluminum, leaving it dull or gray. Too weak, and you’ll notice the acid wash for aluminum barely makes a difference. Always start with the recommended ratio and adjust only after spot testing on a small, inconspicuous area.
Always add acid to water, never water to acid, to prevent a dangerous exothermic reaction.
This is one of the most important rules when preparing an aluminum brightener cleaner. Pouring water into acid can cause splattering or even violent reactions—so always add the concentrate slowly into your pre-measured water, stirring gently as you go.
Wear gloves and eye protection throughout the mixing process, and work in a well-ventilated area. If you spill any concentrate, clean it up immediately and rinse the area thoroughly with water.
By following these dilution steps, you’ll not only protect your aluminum but also ensure your brightener works at peak effectiveness. With your solution ready, you’re set for the next phase: applying the mixture evenly for that unmistakable pro-level shine.
Ready to see your aluminum shine? The way you apply your spray on aluminum cleaner can make all the difference between a streak-free, professional finish and a patchy result. But which tool should you reach for? Let’s break down the most effective methods for spreading your brightener for aluminum, whether you’re working on a trailer, semi-truck tank, or aluminum wheels.
Ever noticed streaks running down after cleaning vertical aluminum surfaces? That’s a common pitfall when using even the best aluminum cleaner for semi trucks or boats. To avoid this, always apply your aluminum bright in small, manageable sections, starting from the bottom and working upward. This strategy prevents streaking because excess solution won’t run down into areas you’ve already treated.
Here’s how to do it:
Imagine finishing your project and spotting dull patches or streaks. Frustrating, right? To ensure even coverage, overlap each application stroke and check your work from multiple angles. For aluminum wheels or intricate details, a dedicated aluminum wheel brightener and a soft brush can help reach every nook and cranny.
For a more in-depth look at application strategies and to discover additional pro tips, check out this comprehensive guide.
Once you’ve applied your solution, the next step is just as critical—timing the dwell period and rinsing thoroughly to lock in that aluminum bright finish. Let’s see how to manage this process for flawless results.
When you apply an aluminum brightener, timing is everything. Have you ever wondered why some jobs leave behind streaks or even damage, despite careful application? The secret often lies in how long the solution sits on the surface—known as dwell time. This is the short window, typically between 1 and 5 minutes, where the aluminum acid or brightener works to dissolve oxidation and stains. Letting the product sit too long, or—worse—allowing it to dry, can permanently etch or discolor your metal. On the flip side, rinsing too soon means you won’t get the full cleaning power, especially with stubborn oxidation or after an acid wash aluminum treatment.
NEVER let aluminum brightener dry on the surface. Keep it wet and rinse thoroughly before it has a chance to dry.
So, how do you strike the right balance? Start by closely following the manufacturer’s instructions for your specific aluminum brite or acid washed aluminum product. Environmental factors like heat, humidity, and direct sunlight can shorten dwell time, so always work in manageable sections. If you notice the solution starting to dry, immediately rinse that area—even if the timer isn’t up yet.
Once the dwell time is up, it’s time for the most crucial step: rinsing. Imagine applying a powerful cleaner and then leaving traces of it behind—residual chemicals can continue to react, causing white haze, streaks, or even corrosion. That’s why a thorough rinse with high-volume, low-pressure water is essential after every aluminium wash or acid wash aluminum process. This method ensures you flush away all residues, neutralizing the chemical reaction and revealing a bright, clean finish.
Proper rinsing not only protects your aluminum from damage but also sets the stage for any follow-up treatments, such as polishing or sealing. If you’re aiming for a flawless, long-lasting result, never cut corners on this step. With your surface now clean and neutralized, you’re ready to move on to protecting your newly brightened finish for the long term.
You’ve just revealed a brilliant, clean aluminum surface—but what’s next? Imagine spending all that effort only for the shine to fade after a few weeks. That’s because freshly brightened aluminum, while beautiful, is also exposed and vulnerable to the environment. Without a protective barrier, oxidation, staining, and dullness can return faster than you’d expect. So, how do you lock in that professional gleam?
The answer lies in applying a high-quality sealant, clear coat, or polish designed specifically for aluminum. These products form an invisible shield, preventing air, moisture, and contaminants from reaching the bare metal. For many, a simple aluminium cleaner and polish routine is enough for regular maintenance, but if you want the best aluminum cleaner and polish results, consider adding a durable protective layer for long-term defense.
Sounds overwhelming? Let’s break it down. There are several options for protecting your aluminum:
When selecting a product, consider your project’s needs, how much time you want to spend on maintenance, and your desired level of shine. If you’re searching for the best aluminum cleaner and polish, look for products with proven longevity and resistance to environmental wear. Wondering about alumabrite where to buy? Many specialty coatings and polishes are available online or through professional detailing suppliers for added convenience.
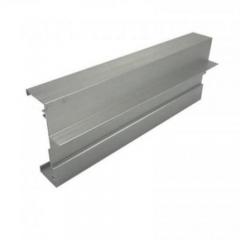
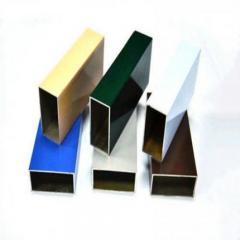
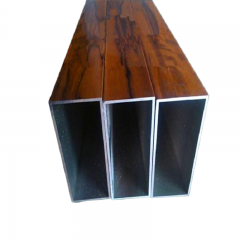
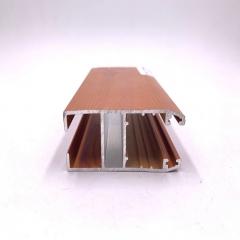
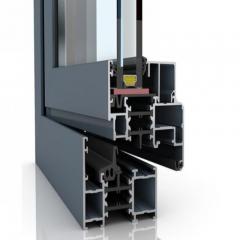
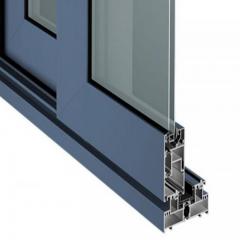
But here’s something many overlook: even the superior aluminum brightener or the finest polish can only do so much if the underlying material isn’t up to par. Imagine trying to keep a low-grade, pitted aluminum surface shiny—no amount of cleaning or sealing will make it last. That’s why, for long-term projects or new builds, starting with high-quality aluminum profiles is essential.
Choosing premium materials ensures your finish stays brilliant and is much easier to maintain. For example, sourcing from a reputable manufacturer means your aluminum is more resistant to corrosion and environmental damage from the start. Shengxin Aluminium, a leading aluminum profile manufacturer in China, offers expertly engineered profiles that deliver both structural strength and outstanding surface quality. Their advanced production processes ensure every piece is optimized for durability and finish, making future cleaning and brightening much more effective and less frequent.
By combining thorough post-brightening protection with smart material choices, you’ll enjoy a shine that not only turns heads but also stands the test of time. Next, let’s tackle some common problems you might encounter—and how to fix them for a flawless result.
Ever finished using an aluminum brightner, only to see a stubborn white haze or powdery film instead of a mirror-like shine? You’re not alone—this is one of the most common issues when using an aluminum cleaner and brightener. The culprit is usually improper rinsing or letting the solution dry on the surface. When residue from cleaners or acid-based solutions is left behind, it can react with the metal, creating a chalky appearance that’s tough to remove.
So, how do you fix it? Start by thoroughly rinsing the area with plenty of clean water. If the haze persists, try wiping the surface with a mix of mild dish soap and water, or a vinegar and water solution, then rinse again. For stubborn spots, a paste of baking soda and water can act as a gentle aluminum stain remover—just remember to scrub lightly with a soft cloth or sponge to avoid scratches.
When you notice streaks or dark patches after using an aluminum wheel acid cleaner or brightener, it often means the product was applied unevenly, or it dried out before rinsing. These marks are not just cosmetic—they can indicate areas where the chemical reaction was incomplete or too aggressive.
To correct this, reapply your aluminum cleaner and brightener to the affected section, working in small, manageable areas. Use a soft-bristled brush to gently agitate the surface, then rinse thoroughly before the solution has a chance to dry. If dark spots remain, try a paste of cream of tartar and water or a dedicated aluminum stain remover. For persistent streaks, a light polish with a commercial aluminum polish can help even out the finish.
Ever applied an aluminum brightener only to see little or no improvement? Sometimes, the issue isn’t with your technique, but with the aluminum itself. Many wheels, trims, and architectural features have clear coats or anodized finishes that act as barriers, preventing the cleaner from reaching the metal underneath. In these cases, standard brighteners and even an aluminum wheel acid cleaner will have minimal effect.
If you suspect a clear coat or anodized layer, check for these signs:
If you confirm a coated surface, avoid harsh chemicals or abrasive scrubbing, as these can damage the finish. Instead, use a gentle cleaner designed for coated aluminum and follow with a polish made specifically for these surfaces. If the coating is severely damaged or yellowed, professional refinishing may be required.
| Problem | Solution |
|---|---|
| White chalky residue after cleaning | Rinse thoroughly with water; clean with mild soap or vinegar solution; use baking soda paste for stubborn areas |
| Streaks or dark spots | Reapply aluminum brightener in small sections; scrub gently; rinse before drying; polish if needed |
| Brightener doesn’t work on surface | Check for clear coat or anodized finish; use appropriate cleaner for coated aluminum; avoid abrasives |
| Rust or stubborn stains | Apply a paste of baking soda and water; scrub gently; for severe cases, consider a dedicated aluminum rust cleaner |
By understanding these common pitfalls and solutions, you’ll be able to troubleshoot most issues and achieve a pro-level shine every time. With practice and the right approach, even the toughest stains or oxidation can be tackled—leaving your aluminum surfaces gleaming and protected for the long haul.
Acid-based aluminum brighteners are highly effective at removing heavy oxidation and tough stains but require strict safety precautions and are best for raw or heavily oxidized aluminum. Non-acidic brighteners are safer to use, suitable for routine maintenance, and work well on polished or anodized surfaces, though they may require multiple applications for severe oxidation.
Always wear acid-resistant gloves, splash-proof goggles, and a respirator if necessary. Work in a well-ventilated area, keep water nearby for emergencies, and follow the product’s dilution instructions carefully. Never add water to acid; always add acid to water to avoid dangerous reactions.
Proper surface preparation ensures the aluminum brightener works evenly and effectively. Removing dirt, grease, and debris prevents uneven results and allows the chemical reaction to restore the aluminum’s shine without streaks or patchiness.
White residue or streaks usually result from improper rinsing or letting the solution dry on the surface. Thoroughly rinse with water, clean with mild soap or vinegar solution, and use a baking soda paste for stubborn spots. For persistent issues, reapply the brightener in small sections and polish if needed.
Apply a high-quality polish, wax, or clear coat designed for aluminum to protect against future oxidation and staining. For the best long-term results, use premium aluminum profiles and consider ceramic coatings or professional-grade sealants.


 dịch vụ trực tuyến
 0086 136 3563 2360
 sales@sxalu.com
 +86 136 3563 2360
 Việt
Việt English
 français
 Deutsch
 русский
 español
 português
 العربية
 ไทย
ไทย Українська